
1. Sew a yoke to interior of the shirt, using the edges to cover up the seam allowance from the collar.
The Negroni pattern from Colette Patterns uses this method - at least that's what it sounds like from Peter's sew-along.
2. Use some sort of bias tape.
I really know nothing about this method, but I saw this shirt on Etsy and it looks like that is what is going on here:
 |
| floral Etsy blouse |
This third method is the one I used and the one presented in my Reader's Digest Complete Guide to Sewing. I really didn't want to make a facing at first. I thought there had to be some kind of short cut. Maybe there is, but since I don't know about it I decided to just do things right. So I drafted a facing for my blouse pattern since it didn't have one yet. I didn't photography this process, but Gertie gives you the basic idea here, just for a different style of pattern. Essentially, your facing needs to follow the same lines as your neckline and needs to be two inches wide. Plus a little for the seam allowance. You can pretty much lay your front and back shirt pattern pieces down and trace over them. You can do an all-in-one facing like I discussed in part 1 of the collar tutorial, or you can divide it up by cutting at the shoulder seams (remembering to add seam allowances!)
So, here we go...
Step 1 - Cut our your facing pieces. Interface them if you want.
Step 2 - Sew your facing pieces together at the shoulder seams (unless you made an all-in-one facing).
Step 3 - Set your facing aside and pick up your collar. Line it up to the neckline of your blouse, right sides together.
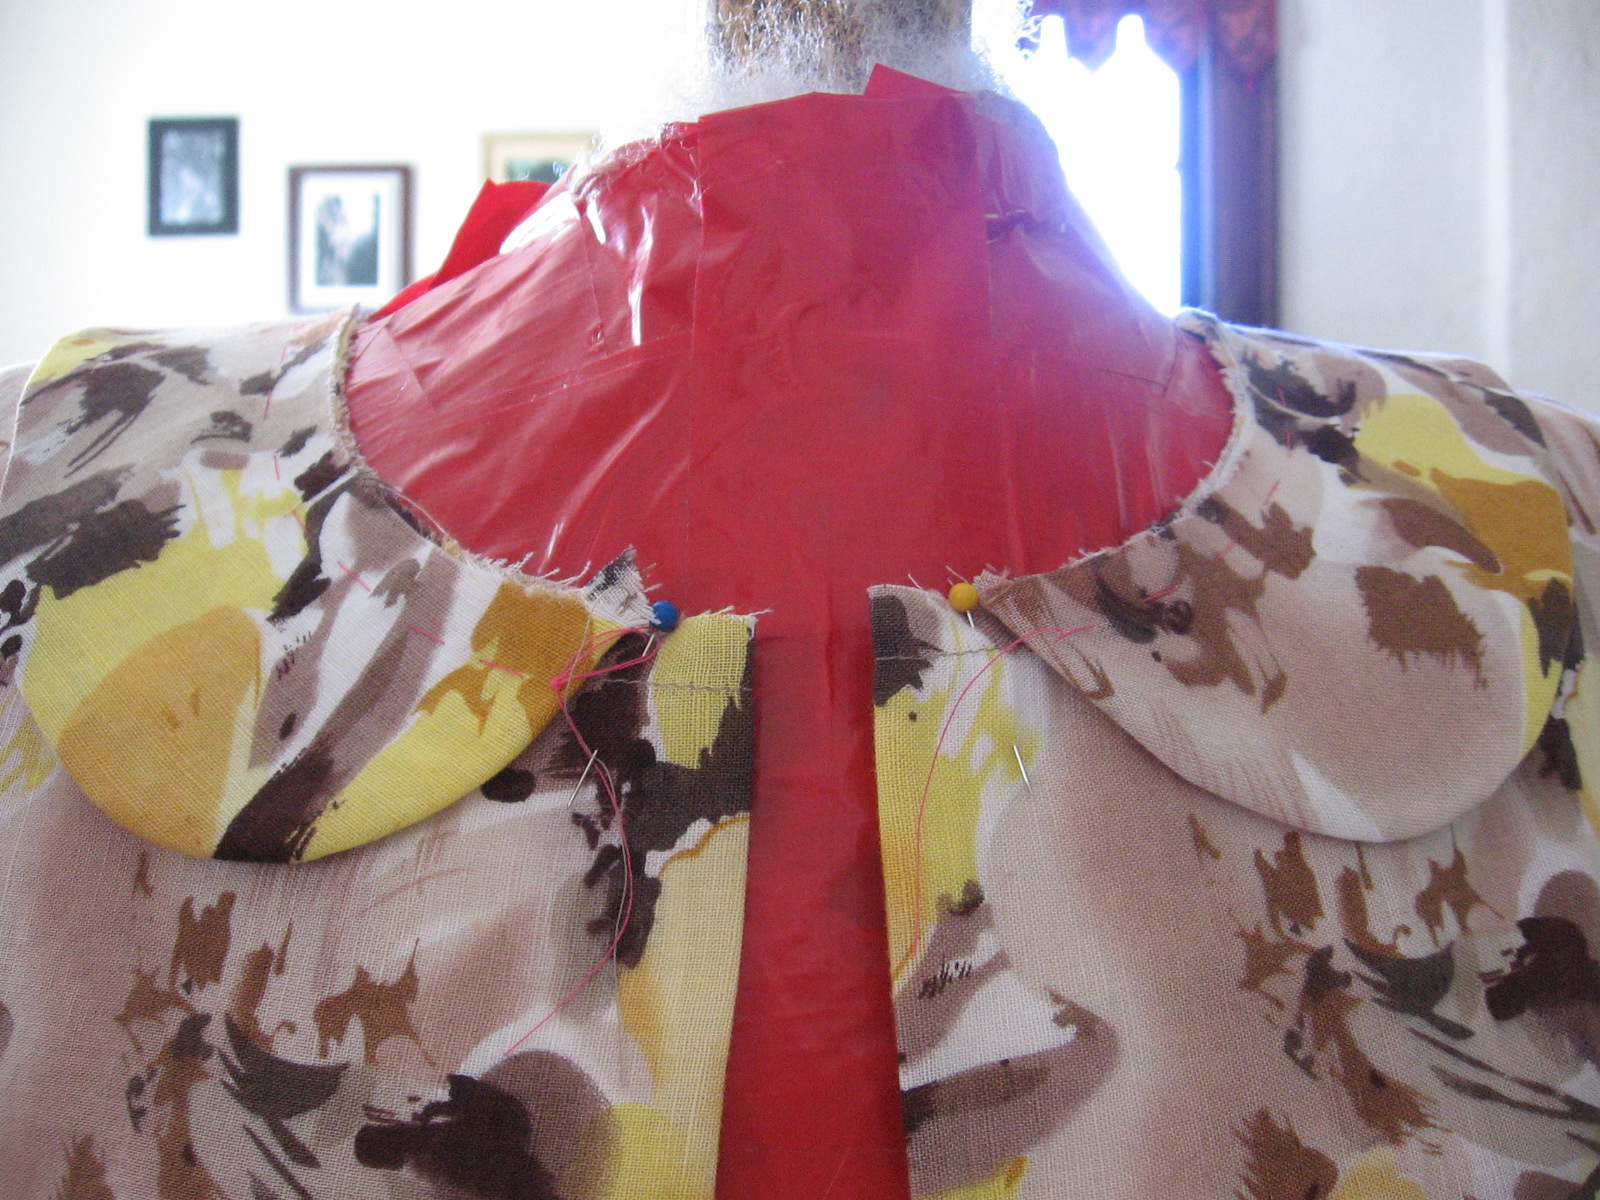
The alignment here can be tricky. Here is my blouse at this stage:

Here I'm trying to establish where to line up the front of the collar. This blouse has a placket that is going to fold behind to create it's own facing. So I don't want to include that in my measurements. The part that is to the right of the purple pin is what will become the facing. The blue pin is marking the center of the area that will become the button placket. It's the center front of the whole blouse. That's where I want my collar to meet up at the center. The yellow pin is marking down 1/2" from the top, which is the seam allowance I'm using. This might not be the same as yours since 5/8" is usually standard (curse your strange measurements, Built by Wendy!). So, the intersection of the blue and yellow pins is where I want my collar.

See? The top edge has to line up with the neckline edge, but I want that little curve to hit right where my pins intersect. It's all very nit-picky, but it's necessary. Once this is lined up, line up the collar on the other side the same way. Pin in place. Then line up the shoulders and the center back. Then baste your collar down like so:

It looks a little funky right? It's because of those darn facing extensions. But if I fold those back, it looks like this:
There's still gaps between the collar and the edges of the shirt, but those will overlap when the buttons are done up. Warning though, you don't want to fold those facings down for this next part. Let them hang off to the side still.
Now that you have the collar sewn down, you can pin the neck facing to it. Place the neck facing over the collar, right sides together, matching up the neck edges, shoulder seams, and center back. it will look like this:

Now you can sew all these layers together on your machine. Don't sew over the facing parts though! It's going to be a lot of layers to sew through, so go slow and make sure you're catching the right stuff and not the wrong stuff. When you're done, the facing will fold to the inside of your shirt and the seam allowances will be hidden behind it, like this:

Yikes! That doesn't look so good. Don't worry, I just need to trim the seam allowances, clip the curves, and iron it down nicely. I did a zig zag stitch on my seam allowances too, and one along the bottom edge of the facing as well. I don't know if it's necessary to zig zag the seam allowances since they will be hidden, but I did it just in case. Now my blouse looks like this:

Much better, right? The facings in front still need to be sewn back, but I'll go over that tomorrow. That's enough for now. Good night!
Hi. I like your blog and your new house too. I am going to try this collar pattern. Thanks for your tutorial.
ReplyDelete