
 |
| my truck - which I will not be commuting in today, but which I will probably drive to Joann's very shortly |

Probably could work on those triceps a little. Here's another view.
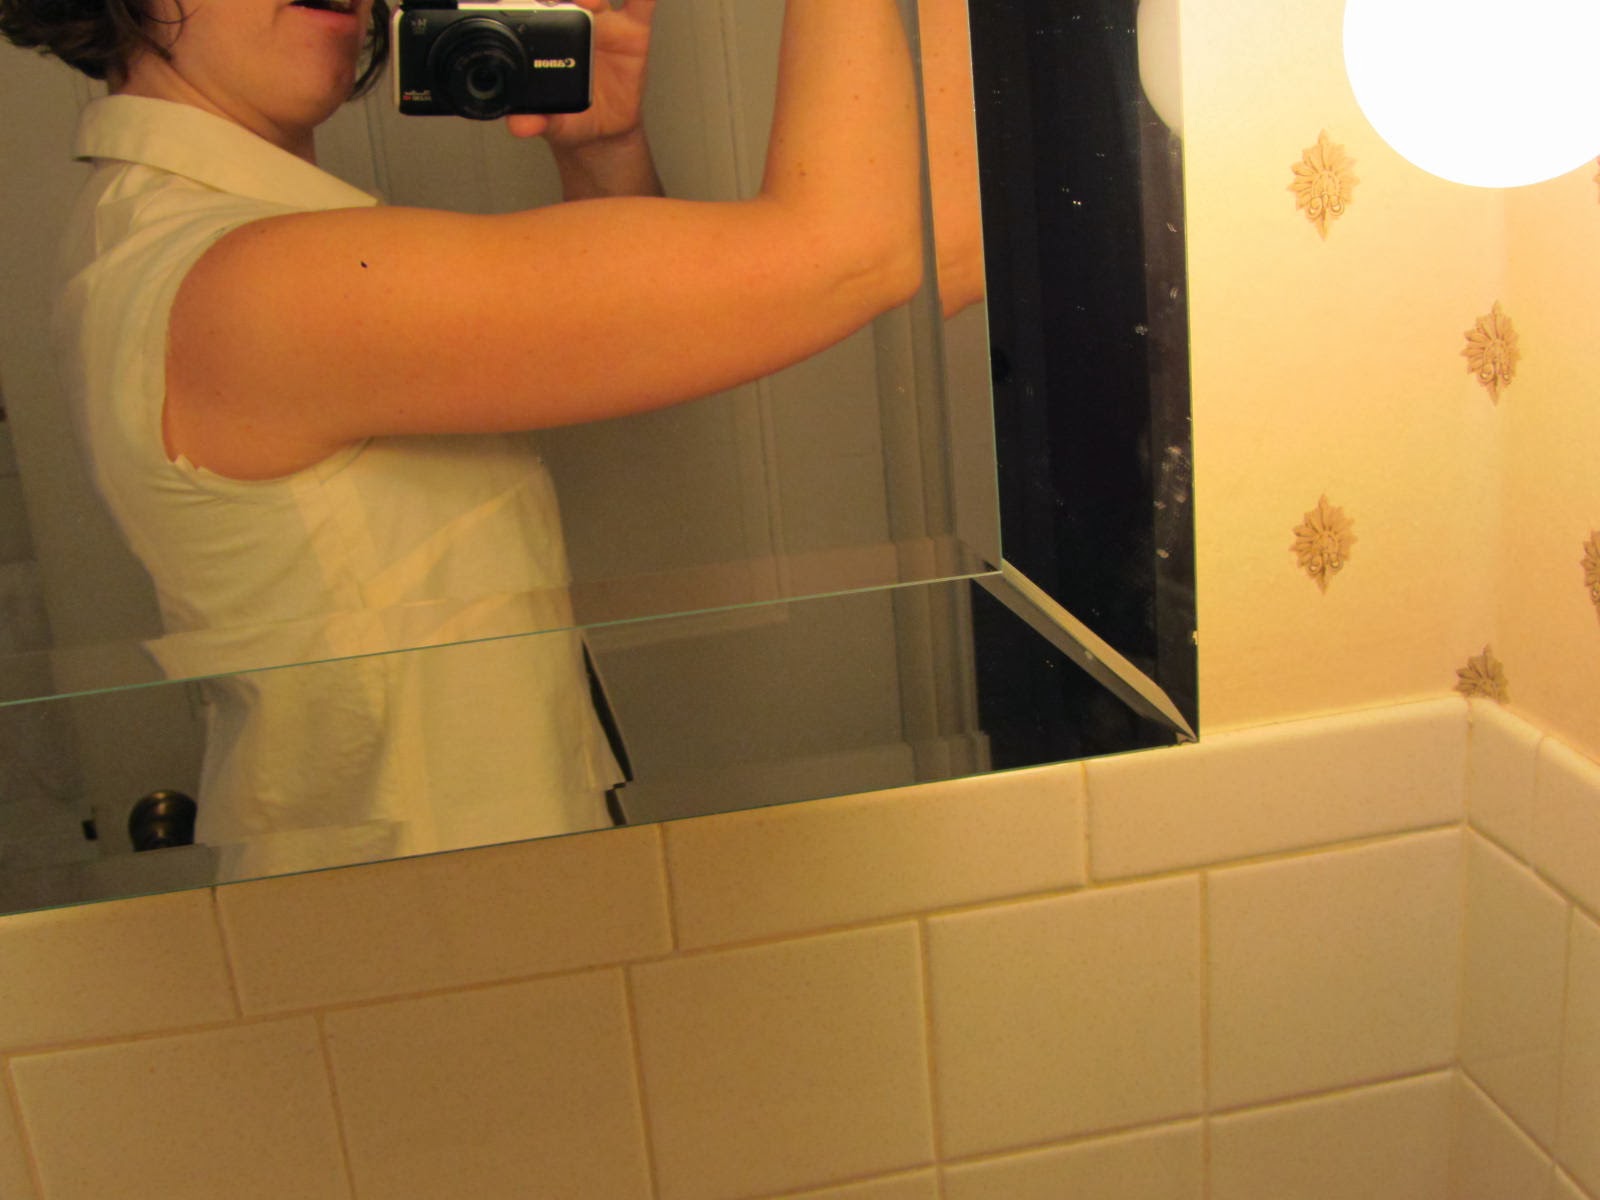
You can see that the armhole doesn't seem too high. I'm not positive what is normal, but it looks about right to me. So I decided to adjust the curve on the sleeve-head as my starting point.
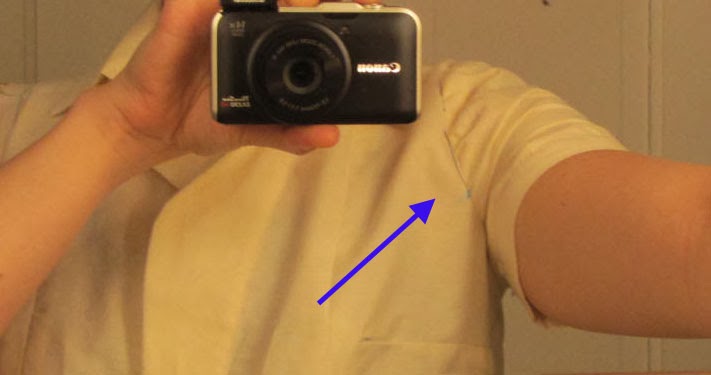
I put on the shirt the spot along the sleeve seam line where I thought the strain began...


Then I re-drafted the sleeve to make the curves a little more shallow, which gives some extra fabric...

The curved line in the picture above is the seam line, not the cutting line, just to clarify.You can kinda see that it adds an extra 3/4" to the underarm of the sleeve, which tapers to meet with the original pattern at about where I made those two marks in the previous step. I inserted this sleeve on the left (old sleeve is still on the right). And I went ahead and let out about 1/2" total width of those princess seams which I had added to the back, thinking that I probably had been a little over-zealous in my pattern adjustment earlier.
When I put on the shirt again, the sleeve did allow for a little more movement, but another big problem became immediately apparent...

With my arms in front of me, there is way too much tightness across the upper back. It was hard to identify this issue with only one sleeve inserted, because the armhole on the left (sleeveless) could pull more easily to adjust for the strain. With both sleeves in, however, it is very clear that I need more room across the upper back. I decided to hulk-out (with a little help from my seam ripper) to see just how much room I needed...

Oh dear. I think I might give up on this one, and go buy another pattern....
Sleeves & Armscye are as tricky to fit for me as pants. I finally found a vintage 40's pattern that worked for me - after much fitting mind you. And that's my #1 go-to pattern for blouses now.
ReplyDeleteI love the *hulk out* photo!
One rule of thumb when doing armholes - the higher the underarm of your blouse the more movement you'll have in your sleeve, given you have enough ease in your sleeve. (Of course one could go too high and then have no movement - but that's hard to do.)
I've had to raise up the armpits on most (if not all garments I make) due to my short-waistedness & small upper half. I generally raise my armpits between 1/2" and 1 fatty inch.
Forgot to add how envious I am of your snow day! :|
Delete