
 |
| pinterest board of potential time-sucking doom |
- Pinterest overload (Holy crap, so many things to look at.)
- Etsy overload (Holy crap, so many things to buy.)
- procrastination (I'm a pro)
- fear (I don't wanna try anything until I know I'll do it right)
- selecting fabrics and trims (Is it gonna drape right? Will these look good together? How the hell will I attach this trim to that lace? Should I order from China now that there's only a month left?)
- fitting difficulties (Katie, quit yoyo-ing. - Just kidding.)
Big projects can be paralyzing, and I don't know if it gets much bigger than a wedding dress. But I'm forging ahead. Cutting the fabric alone has presented difficulties, just because the pattern pieces are so large.

Here's some fabric laid out in my sewing room. Having this expanse of fabric laid out makes my very adequate sized sewing space suddenly seem teensy. This fabric is a handkerchief linen from New York Fashion Center Fabrics. I'm going to use it for the underskirt and for the bodice. Here are the patterns for reference:
To make life easier, I chopped up the huge length of linen before I ironed it. I laid out my skirt pieces first to make sure I wasn't going to waste any yardage, and then I joyfully hacked a piece off, thus creating a much more manageable piece.


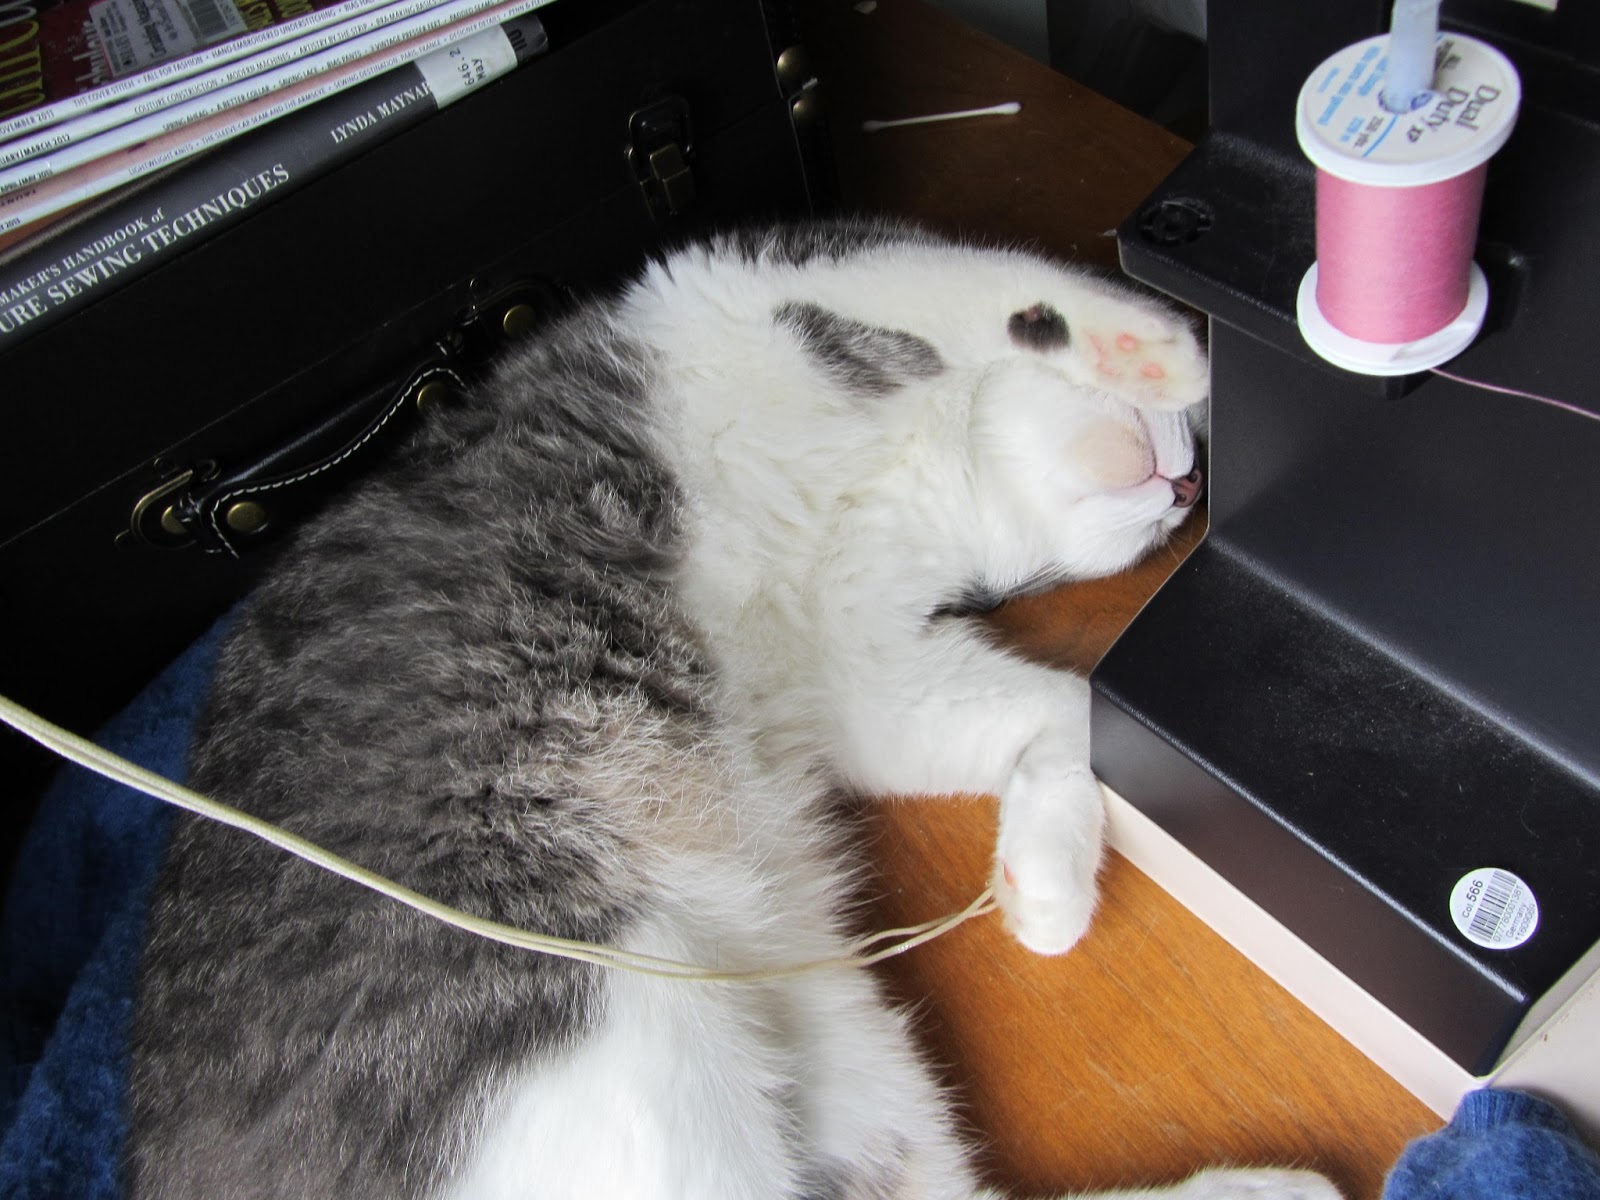
I hung a clothesline on the wall and pinned up my pattern pieces. I hate having clutter everywhere when I'm sewing, and it can be so easy to lose a piece of a pattern. With everything pinned up, I can see it all easily without having it crowd my work space. I also don't have to worry (yet) about Pidgin attacking the paper because someone (me) foolishly taught him to play with wadded up pattern paper when he was young. Pidgin favors my sewing desk as a nap spot. It's cute, if sometimes inconvenient.


This stuff is frustrating to work with. If anyone is a pro and know some way to easily apply Hug Snug, lemme know. As is, I almost abandoned it and just serged the seam allowances. But I couldn't bring myself to do that on my sister's wedding dress. Is that silly? I know nobody would see it, and that it actually gives a very neat appearance, but it just seems so commercial. I kinda want this to be mistaken for a vintage dress. Even if that isn't possible, the Hug Snug gives it a nice look.
There are some ripples and wrinkles in the binding, but most of these disappeared with a quick press of the iron. Thank you Josh, for suggesting that I iron the fold into the binding first. How the heck did he know? You should have seen my first attempt. It was ugly, and I ended up having to unpick about 7 feet of seam binding.


Now I'm pre-washing the lace and silk organza for the upper skirt and playing around with my lace options for the top...

Hopefully I'll be back soon with another progress report!

Here's some fabric laid out in my sewing room. Having this expanse of fabric laid out makes my very adequate sized sewing space suddenly seem teensy. This fabric is a handkerchief linen from New York Fashion Center Fabrics. I'm going to use it for the underskirt and for the bodice. Here are the patterns for reference:
 |
| left: McCall's 3643 (bodice), right: McCalls 6698 (skirt) |

The above piece is folded in half, with the fold running vertically on the left side of the photo. To maintain that fold, I basted the selvages together. I don't know if this is a common tactic, but it seemed like the thing to do. It did make it easier to iron the linen and cut the skirt pieces out.
A couple more things that have made life easier...

Since the handkerchief linen is kinda delicate, I've been worried about the skirt pieces stretching out wherever they are cut on the bias. So rather than go ahead and cut the other patterns pieces, I decided to sew these together first. I think this whole dress is going to go "cut, sew, cut, sew, cut, sew." It may not be the most efficient way to do it, but it eases my nerves about what those seams lines are gonna get up to before I have a chance to sew them together.
To stabilize the skirt seams that run down each side and the center back, I cut long strips of silk organza with my pinking shears and sewed them into the seams.

Like a lot of the stuff I do when sewing, I'm not sure if this is a proper technique, but it seemed like the thing to do. I also sewed a strip of organza around the waist instead of stay stitching. Next I had to figure out how to finish those seams. I would have preferred to sew French seams, but I want to be able to do last-minute adjustments once I finally get the dress to Katie, three days before the wedding (eek!). I used 1" seam allowances on the side seams for that purpose. I guess... now that I'm thinking about it... French seams are technically adjustable? But could you really have a 1" wide seam allowance with a French seam? Would that even make sense? It makes my brain hurt just thinking about it. So instead, I decided to use seam binding.

This stuff is frustrating to work with. If anyone is a pro and know some way to easily apply Hug Snug, lemme know. As is, I almost abandoned it and just serged the seam allowances. But I couldn't bring myself to do that on my sister's wedding dress. Is that silly? I know nobody would see it, and that it actually gives a very neat appearance, but it just seems so commercial. I kinda want this to be mistaken for a vintage dress. Even if that isn't possible, the Hug Snug gives it a nice look.
There are some ripples and wrinkles in the binding, but most of these disappeared with a quick press of the iron. Thank you Josh, for suggesting that I iron the fold into the binding first. How the heck did he know? You should have seen my first attempt. It was ugly, and I ended up having to unpick about 7 feet of seam binding.

Here you can see the organza tucked into the seam:

Now I'm pre-washing the lace and silk organza for the upper skirt and playing around with my lace options for the top...

Hopefully I'll be back soon with another progress report!
Looks like progress! I love how you hang the pattern pieces. I need to do something like that. So convenient!
ReplyDeleteWOWZA! What a project - it will be beautiful! Also, I'm totally stealing your idea to pin up pattern pieces on a clothesline - genius!
ReplyDeleteSuch a great post on this process.
ReplyDeleteI'll be making my own wedding dress next year and the fear is already there even though I haven't even bought a pattern.
Thanks for sharing the process, it really helps!
Wow! I'm making a big steampunk dress for my sister at the moment - i share your pain. :)
ReplyDelete