**WARNING/DISCLAIMER - I am not a professional, and I don't really know what I'm doing! So if you're looking for instructions on how to clean a vintage sewing machine, maybe check out Peter's links
here. If you're just amused at the antics of an amateur with a bunch of screw drivers and a Singer 66, read on.**
I took my break, and now it's back to working on cleaning up my Singer 66. One very stubbornly stuck screw prevented me from making any headway for the last week or so. It needs to come out!
 |
| the lousy screw |
Unless I can get that screw removed, I can't remove the presser bar (that big old rod it's attached to) or any of this other stuff.
Please excuse my lack of correct sewing machine part terminology. I'm doing this without any kinda formal training, so to me most parts are still "doohickeys" and "goddamn metal bits."
Anyway, frustrated with that screw, I put the machine away from quite a while and sewed up a quick project which I will share later. Then I began to feel the guilt for neglecting my project, so I came at it from a new angle on Sunday. Since I still can't remove that GD screw up top, I turned to all the stuff on the bottom.
 |
| stuff |
 |
| more stuff |
You can see it's all pretty cruddy and dusty and rusty and gunky. I've been referencing this
helpful tutorial over at
My Sewing Machine Obsession, which provides pretty thorough advice for taking all this apart. I followed along for a while, but then returned to my usual strategy which is UNSCREW EVERYTHING. As you have already witnessed, I get very surly when something won't unscrew, and when something
does unscrew, I tend to cackle in satisfaction - the volume of the cackle being directly related to the size of the thing unscrewed. One particularly large screw on the bottom was quite stubborn, but even it came out when I used a persuasive enough tool.
That wrench doesn't mess around. It's my husband's, back from the days when he used to work in a palladium mine (true story). According to what I've read on other blogs, forcing a screw is a BAD idea when you're taking apart a sewing machine. A lot of these screws can't be found easily at your local hardware store, and you run the risk of breaking them or stripping them or otherwise damaging them. So don't force your screws. Persuading is okay though. And soaking in oil can help.
A quick word about cleaning stuff (i.e. metal bits, not the body of the machine). I tried soaking some parts in kerosene as I found recommended on many blogs and website. It didn't really work for me though. Maybe I bought the wrong stuff? At any rate, the tools that have been working for me are
1. Green scrubby guys (aka Scotchbrite pads)
2. Liquid Wrench
3. Wire brush (from the paint section at the hardware store)
4. Rubber gloves
The rubber gloves are necessary not for cleanliness, but because when I first started scrubbing at stuff with one of those wire brushes I cut myself almost immediately. Those little wires are sharp. Heed my warning. The procedure which I've worked out goes like this.
1. unscrew stuff, trying to keep all screws with their associated parts
2. dump stuff in a plastic yogurt container or glass jar and douse with Liquid Wrench
3. wait a little (like, a few minutes)
4. go to town scrubbing the heck out of the stuff, using green scrubbies and wire brush
5. admire how nice and shiny everything looks
I also developed a few tricks for dealing with things that are tricky to clean. Screws are difficult to hold and scrub because they are so small, so I grip them with a pliers. Then there's all those holes that the screws fit into. I scrub those out like this:
Cut a rectangle off of a scrubby pad, roll it into a cylinder, and work it back and forth through the hole. No giggles please. You can do the same thing for all the little nuts - no laughing!
 |
| twist it through (my hands are permanently dirty) |
 |
| nice and clean! you just can't really tell in this photo |
Once I got all the parts from the bottom of the machine clean, I set about reassembling everything. I took a few pictures while taking it apart, but I'm reluctant to pick up my camera with my very greasy hands. So I decided to instead document how I reassembled everything instead. After all, anyone can disassemble one of these with a little poking and prodding (and Liquid Wrench). Putting it back together is another thing. So here are all the parts I started with:
 |
| look how shiny and clean! |
I stopped short of trying to remove those metal parts you see on the bottom right hand of the machine. They go up into the machine's insides, and I don't want to think about what kinda mess I might get into if I successfully remove them and then have to put them back. So I just poked at them with my wire brush until they were cleanish, and then moved on.
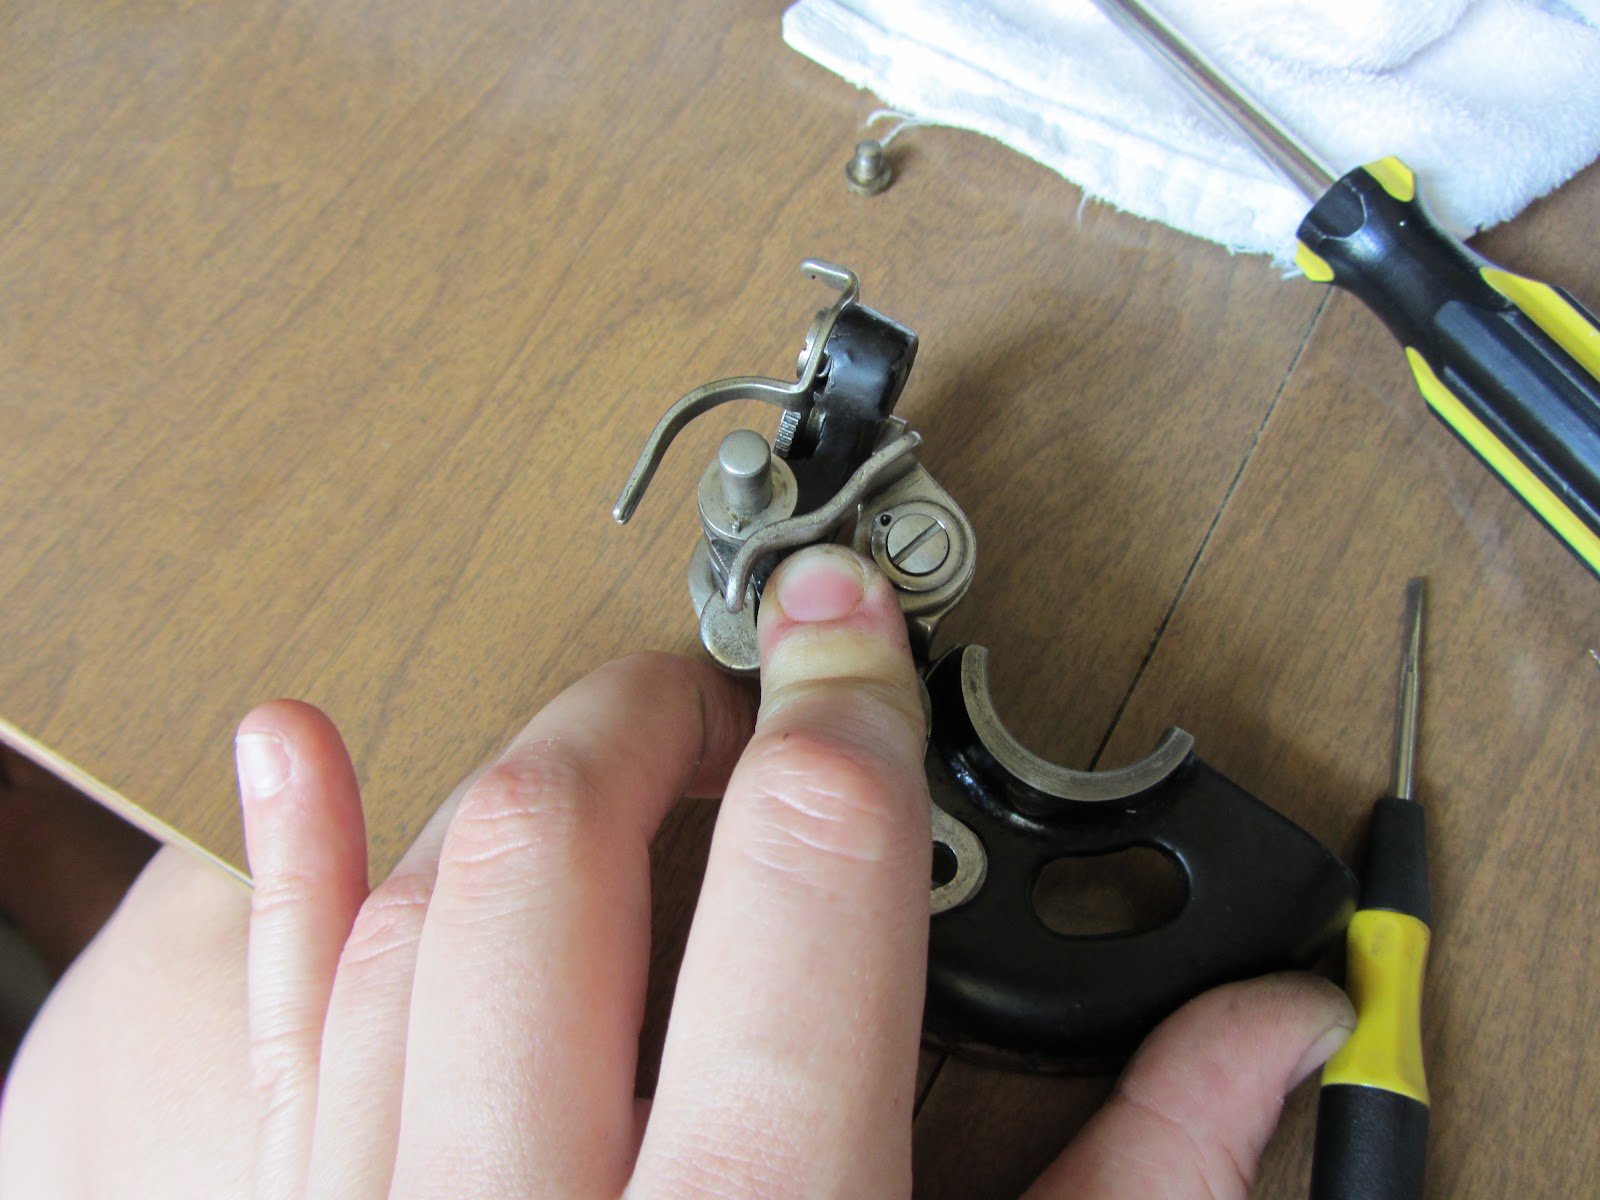
After a little trial and error, I found that you have to start the reassembly process with the long skinny bar (the smaller of the two).
This bar has some big holes and some little holes. The little screw in my hand above fits into that littler hole. When tightened, it tightens the grip on whatever is in the bigger hole. Sounds very arcane I know, but if you play around with it you'll see. So I put the little screws in, but didn't tighten right away.
 |
| little screw in hole (sorry it's blurry) |
Next, I attached the curvy doohickey shown below to that long skinny bar. I wish I knew the proper name. Anyone? In the photo below I have the proper holes lined up. The bar has a flat side, which is facing up, and the little screws (from above) are pointing down.
Here's the screw for the job:
And here are the two pieces connected:
So far so good. Now you can see how those little screw in the long bar can be used to tighten its connection to the curvy piece:
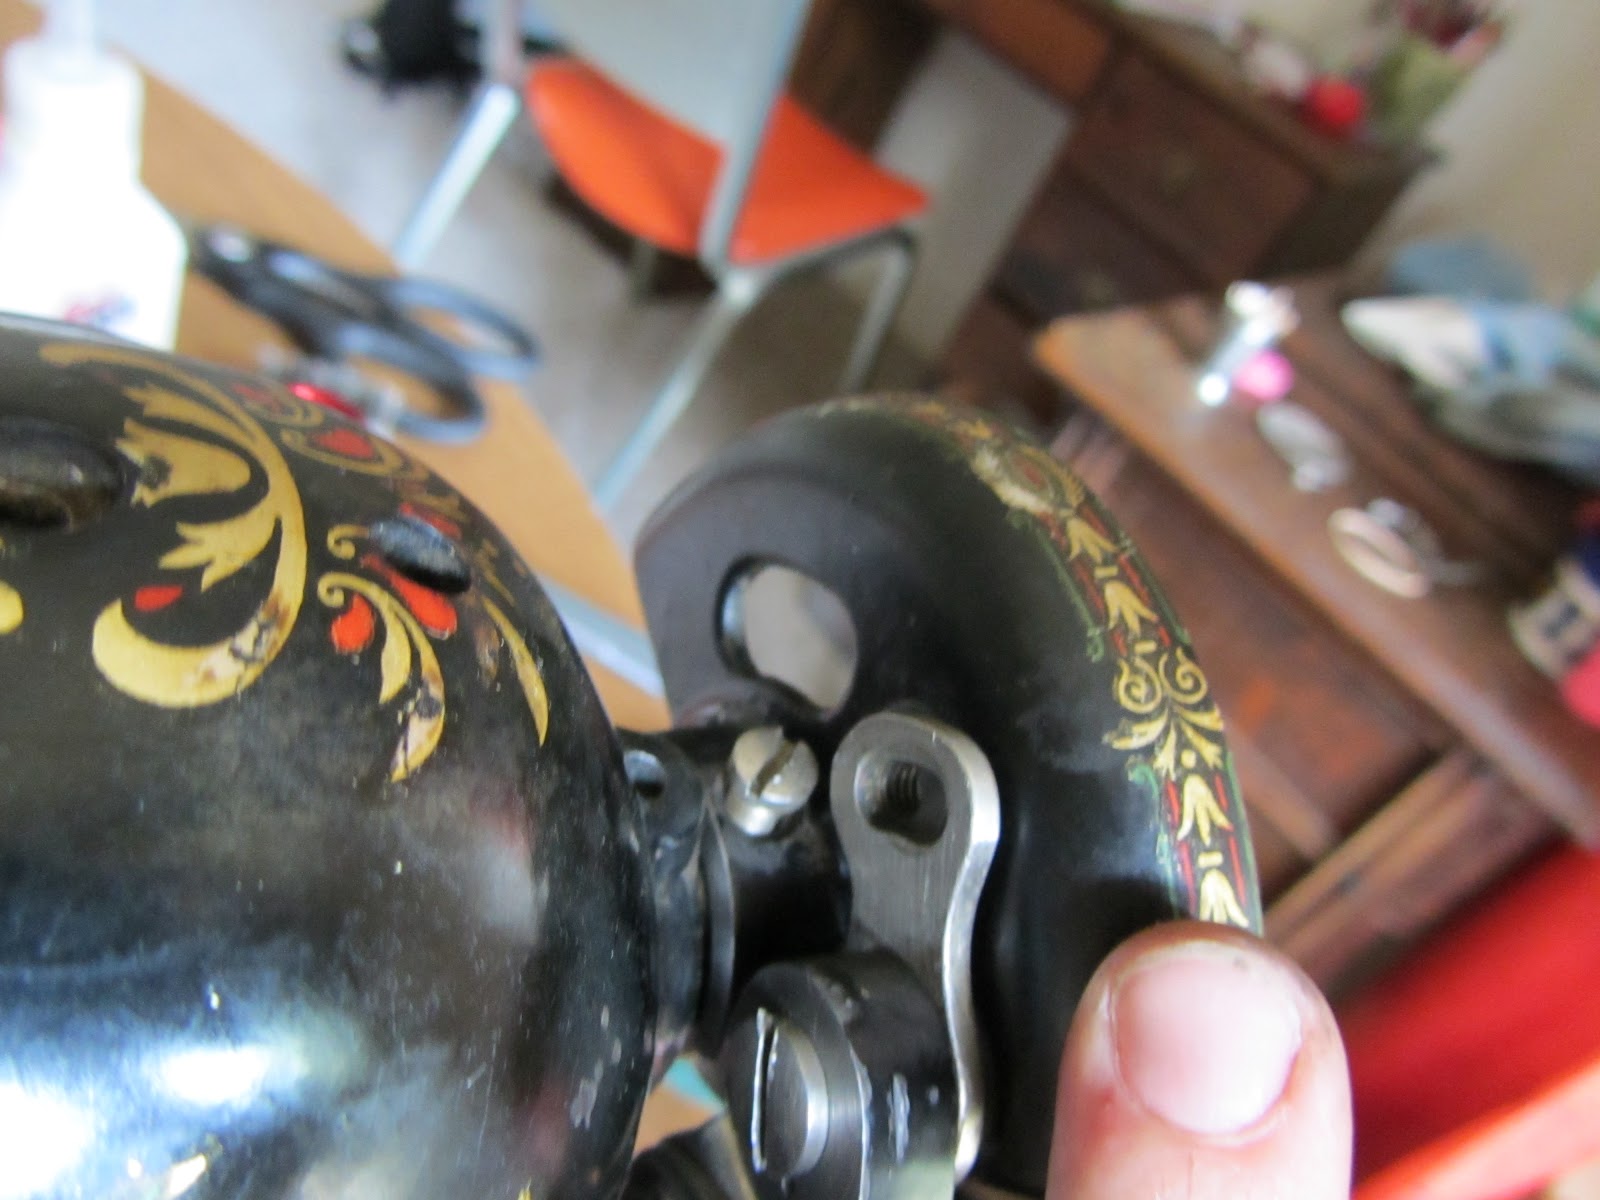
Now we're going to put these two pieces back in place on the bottom of the machine, like so:
The right side fits over that bar that goes up inside the machine (arrow on the right). That giant screw at the bottom (the one I persuaded, remember?) goes in the hole on the curvy guy and then into that hole on the machine that the littlest arrow is pointing to.
Here's what it looks like after it's in place:
Hah! No problem. Yeah it took me about five tries to figure out which screws went where, but whatever. Also, you can probably tell that a screw is needed to hold that long skinny bar on over on the right hand side. I wasn't sure which screw though, so I left it for last.
Next we'll put this guy in place:
That's the hook. I actually know it's name. It drops down from above into this hole:
Here it is in place (which required jiggling the presser bar and needle bar a little):
Now this piece, which I believe is called the oscillating hook, fits over the end of the hook... the hook hook. I don't know, I guess they're both hooks...
Ta da. Now it looks like this:
Next, take the screw shown below and connect the oscillating hook with that other curvy piece, going through the holes shown below:
To do this, you might have to play around with the wheel to get the holes to line up. At least, I think that's what I did. I know at a few points things didn't seem to fit until I turned the wheel to make things align correctly. Sorry I can't be more specific. Here's that screw in place, the two pieces connected:
Nice. Now we get to put the bigger long bar in. Here it is, nice and blurry:
Now that part circled in blue, I took that apart too but forgot to take photos when I put it back together. It's not too difficult to figure out. There are two little bullet shaped screws that go into either end (where pink arrows point) and two little nuts that go over the ends of the screws. You just have to make sure you don't reverse the direction that little arm extension hangs when you put it back together. Which is why I put a warning on this photo. Of course, I didn't figure that until I tried to attach it to the machine. ANYWAY. Here's how it should hang:
Now you can fit this whole contraption onto the machine with similar bullet-shaped screws, only larger.
Here's the bar in place:
And these nuts go over the ends of the bullet screws:
Like so:
What's left? We can attach that jangly bit that's just flopping loose on the right (the one that goes up into the bowels of the machine) to the big bar:
As you can see in the photo above, there's a screw and nut still attached to that jangly bit, wisely replaced after I cleaned them so that I would not forget from whence they came. The screw goes through the hole in the big bar above, and the nut goes on the end. Here they are separated:
And everything all attached:
Here's a view from the other side:
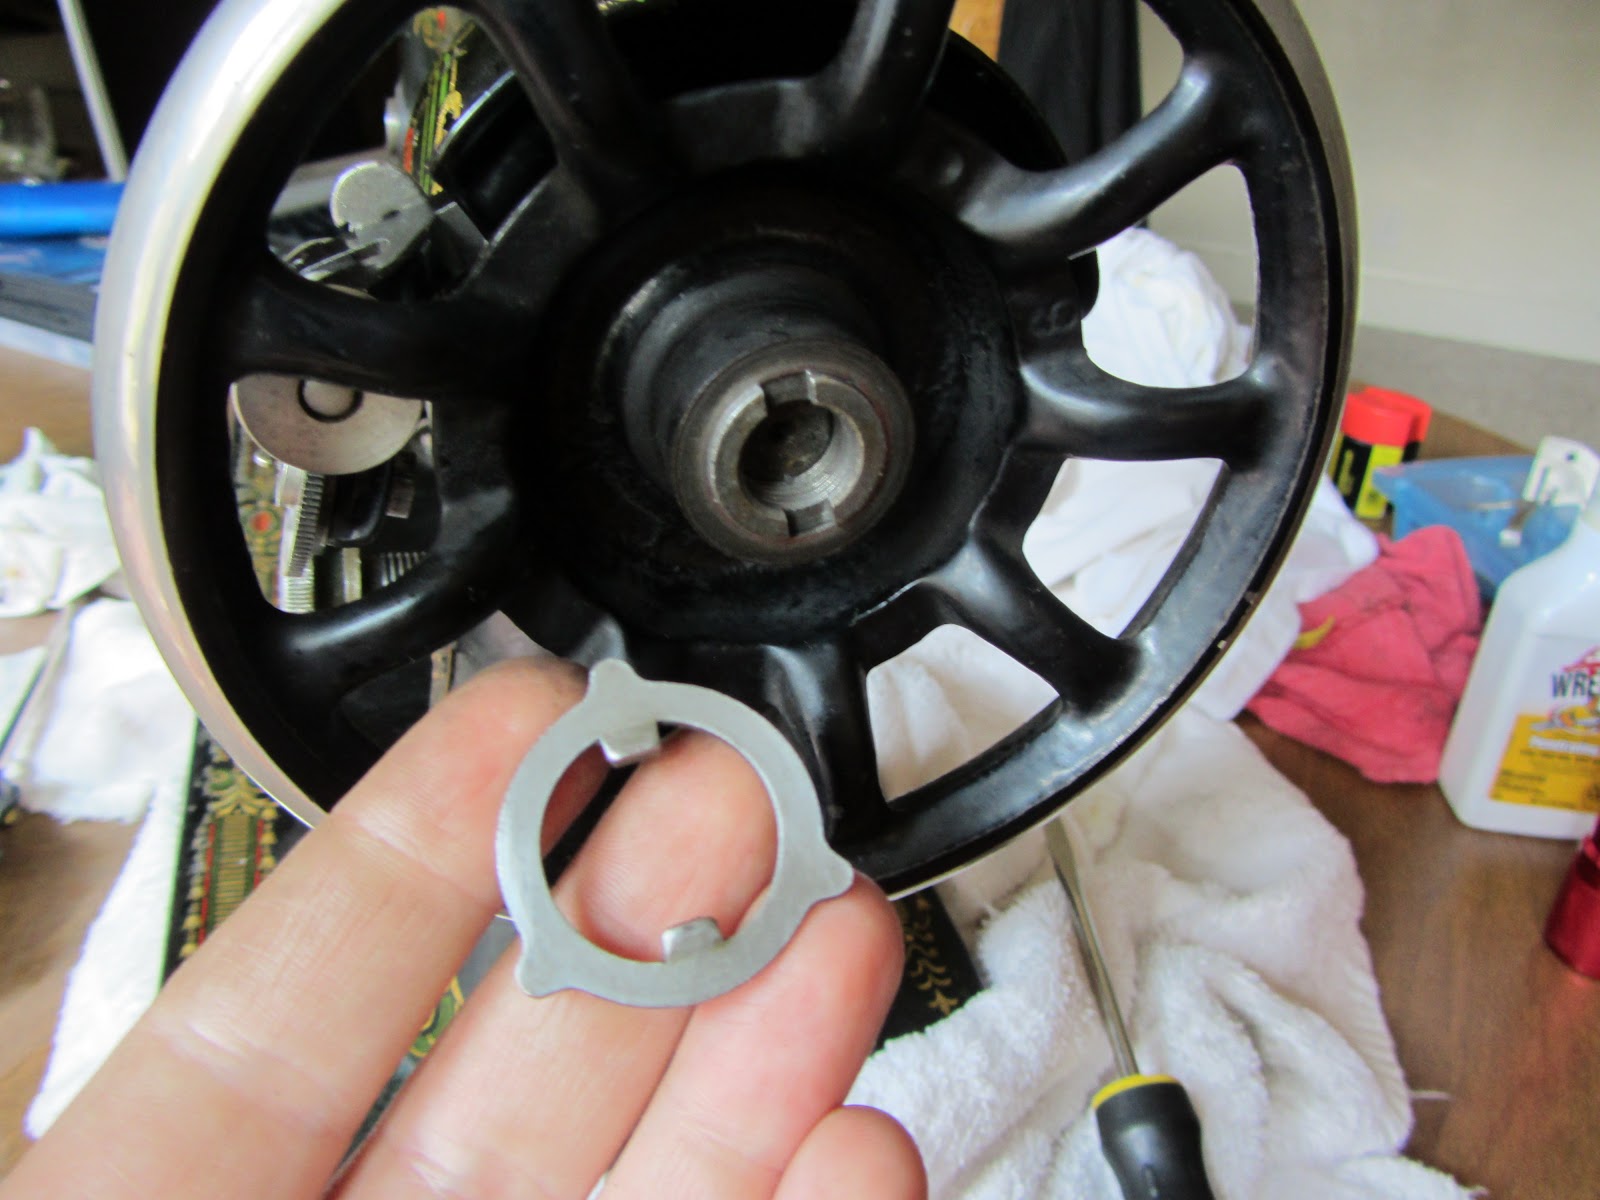
What's left from that pile of parts I had? There's this wrench-shaped part and a screw to go with it:
The fork part fits where the blue arrow indicates, and the screw goes through the whole indicated by the pink arrow. Again, you might have to play with the wheel a little bit to get this to work.
Here it is in place, just need to tighten the large screw:
So nearly done! Except there are a couple of holes missing screws...
Here's what I've got for screws leftover...
You can see the bigger one fits in the hole in the smaller bar - the one I left empty earlier. And the smaller one goes here:
And that's it! At least, until I discover that I've missed something vital. Next I'll be attempting to reassemble all the stuff, doohickeys, whatzits etc. that surround the bobbin winder and wheel.