Monday, October 29, 2012

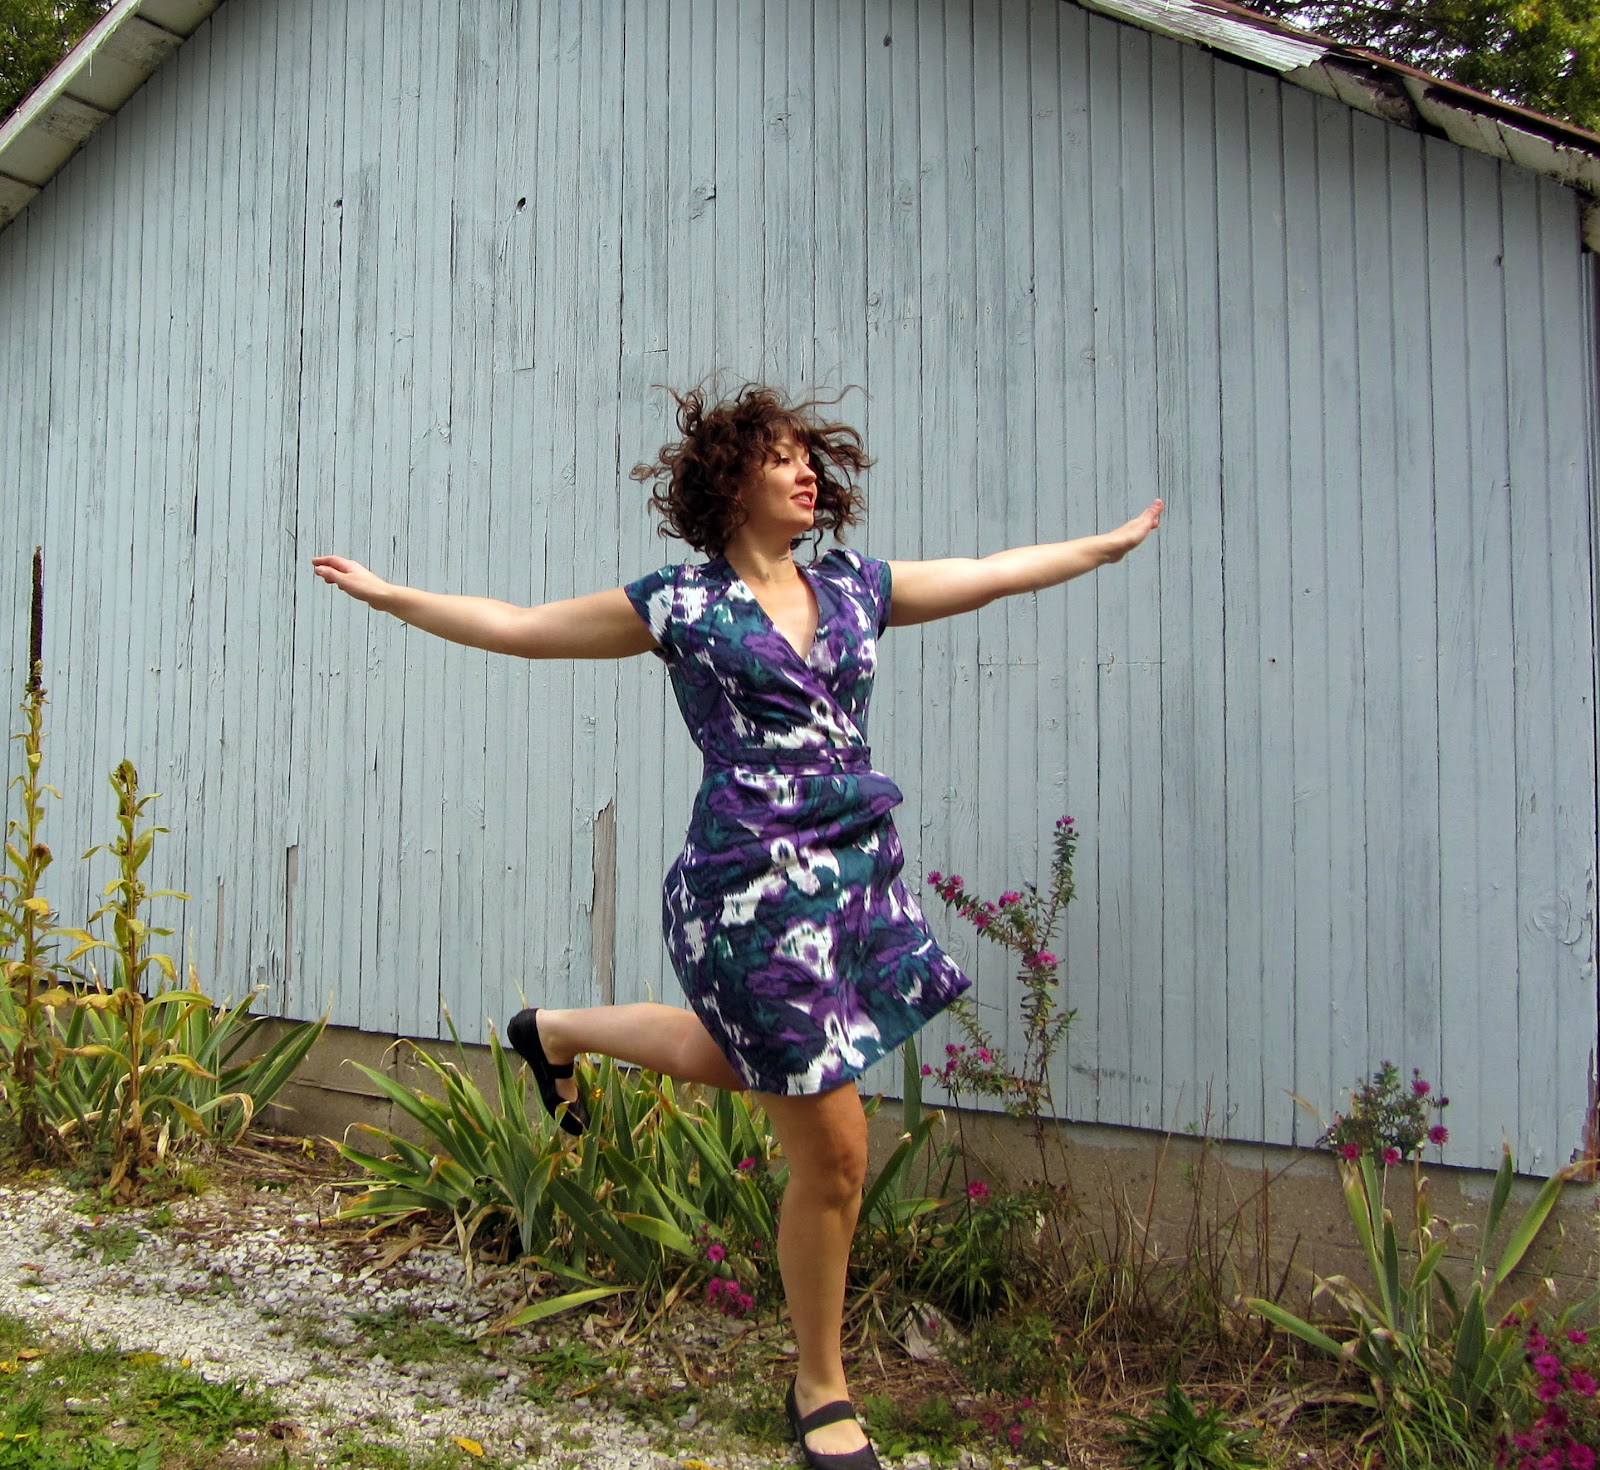
Finished wrap dress - New Look 6674


Another finished item! This one is going up quite late, as I finished it back in August. I took the photos several weeks ago... I don't even think it was fall yet! So there have been two rounds of procrastination on this one. It's a little difficult to remember the sewing process at this point, so sorry for that. Anyway, back to the summertime... I started to have the hankering for a wrap dress and settled on New Look 6674.


I can't remember why I chose this pattern. Looking at it now, it strikes me as plain. Then again, I have been trying to sew more wearable clothing - "cake", if you will. And this dress is casual enough that I should get a lot of wear out of it. And when I wore it to my internship a while back, the other intern asked if we were supposed to dress up. Cake is a relative term, doncha know.


The fabric is a linen/rayon blend from Joann's. I'm still digging usable fabric out of that place, but it sure isn't easy. I really liked this print, though. It reminds me of ikat. I'd like to get my hands on some actual ikat. Anyone know a good place?


I'm a bad seamstress and didn't make a muslin for this. I'm usually a bad seamstress, actually. Instead, I tried to adjust the pattern based on my measurements and reviews I read on the Pattern Review website, and then just cut right into my fabric. This resulted in some unfortunate fit problems which necessitated me taking apart the darts and side seams - which was a real bummer because I had already finished the seams with bias tape. BIG SIGH. Turns out wrap dresses can be tricky to fit? Maybe someday I'll learn. Some others had complained about a gaping neckline on this pattern, which I think is a common wrap dress problem. I redrew the shape of the neckline curve, making it straighter, and I didn't have issues after that. But I'm also in the A-cup club, which also might have helped.


The skirt has an A-line shape which works well for me, but it doesn't have darts in the back and I probably could have used some. Oh well. I don't think it's a big issue.

Aside from not making a muslin, I took another big shortcut on this dress - one which actually worked out okay. I used Steam-a-Seam to hold down the bias tape which I used to finish the neckline, front opening, and sleeves. This stuff is totally cheating... I know! It's like gluing your dress together instead of sewing it. But I just couldn't bear the thought of catch stitching all that bias tape down, and I didn't want a line of stitching all the way around. So far, the stuff has held up... well, with the exception of the sleeves. Those I did have to catch stitch in the end. Steam-a-Seam is no match for holding things down where multiple layers of fabric meet.


I didn't bother with the bow/sash from the pattern, but instead used a vintage button from my stash. Nice match, eh?

Then, just to prove that this dress is a very functional garment, I put it through the "mobility test" ala Steph at 3HoursPast...

Flying leap!


Less than graceful jumps!


Ah, whatever guys! It works! I've worn it to an interview (got the internship), out for drinks (got compliments), dancing (cuts a rug)... and I deem this one a success!

Wednesday, October 3, 2012

Finished gingham blouse

Gee, has it really been over two months since I posted? Whoops. It's not because I haven't been sewing, that's for sure. In fact, I have quite the backlog of projects to report! Unfortunately, most of them still need to be photographed, but the weather hasn't been cooperating. Last night I forged ahead anyway and took some photos indoors. They aren't great, they certainly won't put me on the cover of Burdastyle, but they'll do.


I guess high resolution can't make up for poor lighting. Oh well. The pattern is vintage McCall's 5946, view A.


Originally I had wanted to make the button-up from Built-by-Wendy: Sew U, but I didn't for two reasons. First, I bought my fabric on the cheap off Etsy and ended up with not enough after I discovered some of the yardage was polyester (and not all cotton like the seller said). Second, the Built-by-Wendy pattern has wacky seam allowances which aren't marked and which aren't consistent (just read the reviews on Amazon), thus leaving you in a dangerous guessing game that can only lead to extreme sewing frustration and seam ripper angst. Somehow, despite that problem, I managed to make a very nice shirt from the pattern years ago. It was one of my very first projects, and I'm still proud that I tackled a collared shirt (with cuffs!) without hesitating. It was probably that naive enthusiasm that got me through the seam allowance stupidity without being fazed. Unfortunately, that was before I knew how to identify polyester and avoid it like the plague. So while the shirt fit well, it also stifled me like a plastic bag. CURSE YOU POLYESTER!

Long story short, I went with a different pattern from my stash that looked interesting. And it turned out okay, although I made a mistake or two because I didn't read the instructions (whoops). I also had to do a bit of hand stitching to get the collar to lay correctly. It seems like on rolled collars like this there's never enough fabric to do the roll neatly. Anyone else have that problem?


I used a larger gingham for the facings. Originally I wanted to do the whole shirt in this. It's a Robert Kaufman gingham, and I bought it new, which I don't do very often! Sadly, when it arrived I discovered it was more like a bottom-weight or a home decorating fabric. Boooooo. But remembering my experiment on my shorts, I used it as the facing and cuff material thereby eliminating the need for interfacing. Success!


I guess I'm moderately pleased with the overall result. It definitely has a vintagey feel to it. I did have to make the arms a little larger for my big elbows. And I wish I had made it slightly longer. Annnnnd I might have forgotten the vertical darts which leaves the shape quite boxy without a belt. Maybe I should go back and add those. But the one big thing this pattern taught me is that I'm no big fan of the low arm scythe, otherwise known as "baggy armpit." You can see from the pattern illustrating that it's an interesting design feature, but it didn't make the sleeves much easier to insert, despite what you might think. And if you try to lift your arms in a shirt like this, it pulls the rest of the shirt up with it. So it's not going to stay tucked, and no reaching for things on high shelves without your belly showing. Unless you added some length. But you didn't, did you Claire? ALSO, I can't wear a sweater over this very comfortably, unless the sweater has low arm scythes too. I think it's a cute blouse, but I might have to hack it into short-sleeves to overcome these issues.

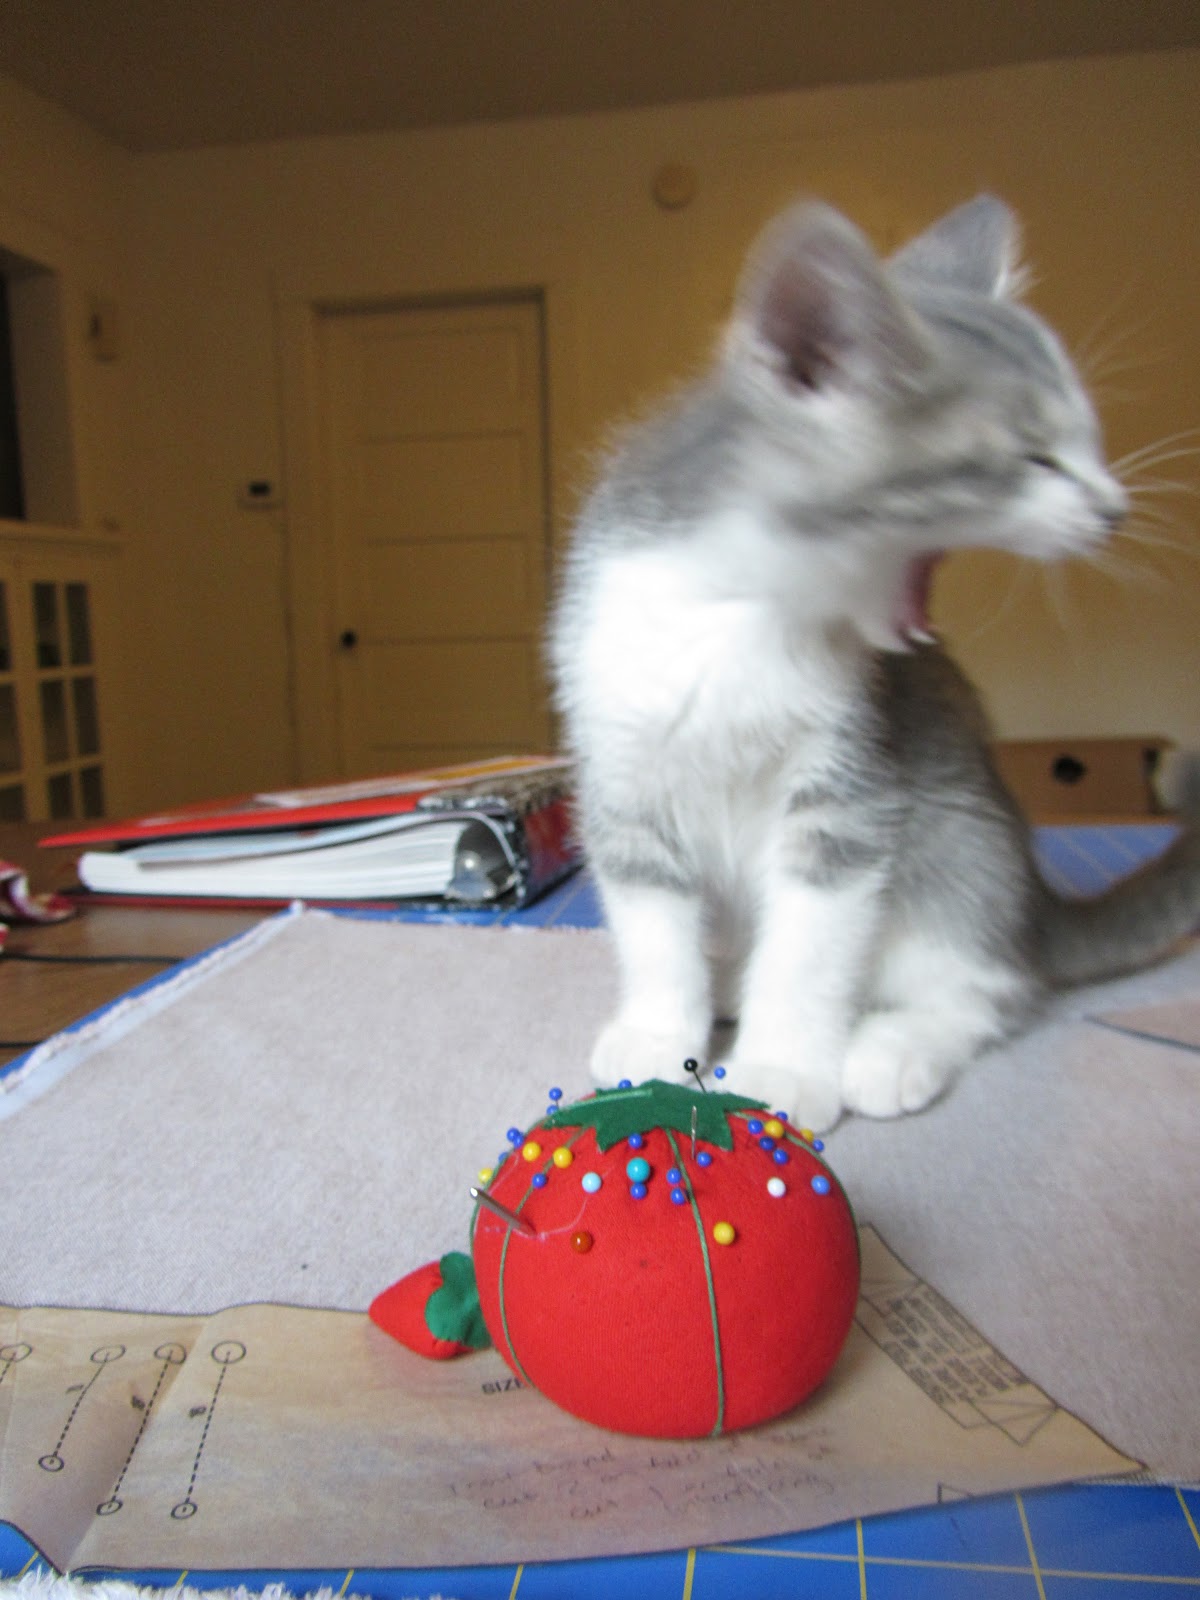
So that's all, except for a photo of Pidgin wearing some polyester gingham.


Gahhh! Frickin adorable. And the rest of the polyester I glued over a cardboard box, thereby making it an attractive container for my pattern stash. Take that polyester!

Thursday, July 12, 2012

Simplicity 1887 - Gathered back converted to darts

I didn't want to accumulate any more UFOs around here, so I forged ahead on my shorts and made it work, Tim Gunn style. Since the gathered back was obviously not working, and since I didn't want to scrap the whole project, and since I didn't have enough extra fabric to redo the back pieces.... I did what my amateur mind thought best:

  • Unpicked allll the stitches on the back waistband (sigh) and all the stitches on the cuffs
  • Inserted a zipper on the left side
  • Cut a line straight up the back of each leg...


Then I sewed that gap right back together again with 5/8" seams, thereby removing about 1 1/4" excess from each leg. I used flat felled seams again, and I'm just going to call those "design elements." There are no mistakes, just design elements waiting to happen. This made the fit much better in the butt, but there was still a lot of excess in the waist, of course. So I added in some darts, one on either side of each newly-made back seam (four in all). That did the trick!


They're pretty wrinkly from wearing, but you get the picture.


As for the back waistband, I had to draft a new one. Instead of using a straight rectangle (like the original pattern), I curved the bottom edge downward because this is how the back pieces curved once the darts were added and I tried them on. I measured carefully with my tape, first the length of the top straight edge and then the length of the bottom curved edge, drafted it, cut it all out, and somehow it fit perfectly. It was a very pleasant surprise, because I really expected it to be harder than this. Not so!

I also chopped off some of the extra length and redid the cuffs. While I was doing everything else, might as well.

I used a heavier fabric for the facing. I think it's a home decorating fabric. It's sturdy enough that I didn't need to interface the waistband. I've never tried this before, but I kinda like the result.


So, in the end I've wound up with a pattern that only half resembles the original but is much more flattering than my baggy bloomers of version 1.0. And most exciting, I think I just made my first pair of fitted (short) pants.


Here's a photo of the top of my head, in case you were wondering what it looked like, and the shorts...


 Oh okay, and the bum shot. Sorry everyone, but I have to prove they fit.


I added pockets on the back, because I wanted them, and also because I think they do a good job of hiding how there's one too many seam lines on each leg. Two darts plus a seam up the center of each leg seemed like a lot.

'Nother bum shot...


I really ought to be more excited in these photos. I've been dreaming about making my own pants forever!


Josh's patience for the fashion shoot lasted about three minutes. After that, he started picking peaches.


 Hey, are those delicious? Nope. Phbbt. Not ripe yet.


Last photo I got outta him before I went and got my tripod and finished on my own...


More shorts shots...


Oh wait, there's something more interesting in these photos...


Who's that little fuzzy dude? Oh yeah, it's our ADORABLE NEW KITTEN.


Say hello to Pidgin. He is small and soft, but getting bigger every day. He likes to look outside at the cars that go by.


He totally steals the show, I have to say.


We adopted Pidgin from the shelter last week. I went there with the intention of getting an adult cat, but Josh went straight to the kitten room and started falling in love with them, and that was that. I couldn't say no to one of those little furballs, plus seeing an adult guy playing with a tiny kitten is pretty adorable.

Pidge is awesome. He's rambunctious and sweet, and very brave. I also feel like adopting a cat is kinda like a badge for me as a seamstress. It seems as if every other sewing blogger out there has one. There's Pip and Henry, over at Gertie's Blog for Better Sewing...

photo
Echo, Debi's companion over at My Happy Sewing Place...

photo from this post
And my personal favorite, Walnut from Cation Designs.

how awesome is this photo?
And I can't leave her out, even though she is far from feline... Lucille from Lucky Lucille...

a dog worth naming a blog after
Welcome to the club, Pidgin!


Monday, July 9, 2012

Simplicity 1887 - The case of the baggy bottom (and how to alter pants for a full bottom)

Don't worry, I'm not abandoning my Singer 66 - but I do need a break for some actual sewing. So I have for you, Simplicity 1887:


Like many other seamstresses out there, I'm mildly terrified of sewing pants for myself. Pants are difficult, not because of construction, but because of fit. This is especially true for me because the measurements for my top and bottom halves are so far apart from each other on the back of any pattern envelope that I'm not sure they even speak the same language. In other words, I am a pear in the extreme. Pants cut for the "average" lady just can't hack it when it comes to my waist:bottom ratio. No fault of mine, I tell you. That's also why I'm determined to one day sew the perfect pair of pants. But it's also why I thought I'd ease myself into it with this cute pattern with the flat waistband in front and the secret elasticized waist in back. Perfect way to accommodate both my waist and hip measurements, right? Well, you'll see...

First, not being a total novice, I decided to alter the pattern a little to fit my bum. Elastic can only do so much, after all. I decided to follow this clever seam method of pattern alteration from Threads magazine:


The seam method of pattern alteration makes all the cuts at the stitching line, so that any distortion of the grain line only occurs within the seam allowance. Here is what the process was for my pattern piece:


Above is the unaltered back pattern piece. I only altered the back, because that's where my bum is. Logical, no? If your lower belly needs some room in front though, you could probably replicate this process on the front pattern piece. First step was to draw in the seam allowance lines. Sorry for the poor photos. Then, I cut off those seam allowances and added a little breathing room:


The blue arrows point to the two places where the seam allowance pivots outward to create some extra space. The left arrow is pointing to the inner leg seam. I don't need that to be longer, so it's not spread, just pivoted outward. The right arrow is pointing to the outer leg seam. Again, I don't need extra length there, so it just gets a pivot as well. You can see that the lengths of these seams won't change, which is good because if it did I would have to go and alter the lengths of seams on the front pattern piece to match. The only seam which gets enlarged is the back crotch seam, and since the two back pieces are stitched together along that seam, it doesn't require altering any other pattern pieces. Hope that makes sense. You can see in the photo above that I made two cuts through the seam allowances on the back crotch curve so that I could expand it.

Now how much should you spread the seam allowances to achieve the correct fit? I'm not sure if this is a good method, but it worked okay for me. First I measured my front and back crotch length. Basically, you do one of these with the measuring tape:

http://aces.nmsu.edu/pubs/_c/c-227.html
The horizontal line is your natural waist line. You measure the total crotch length, waistline to waistline, and then split that into two measurements for back and front depending on where the measuring tape falls directly under you. I let the tape hang a little lose while measuring this because if you pull it up right between your buttcheeks you're going to end up with pants that give you a giant wedgie. Not trying to be crude here, just trying to be helpful.

Now you can compare those measurements to your front and back pattern pieces by curving your measuring tape along the crotch seam line of the pattern. When I did this, the front crotch seam was 3 inches shorter than my body measurement. However, since I know my tummy is not causing fit issues, I deduced that this was because the front pattern piece doesn't extend all the way up to the natural waistline the way my measurement does. There's still a waist band to attach, after all, which probably makes up those extra inches.   Next I compared the back crotch length to my measurement. It came up about 4 inches short. I decided that 3 of those don't count - again, they're hiding out on the waist band piece. That leaves the pattern piece 1 inch shorter than my back crotch measurement. So when I spread out those seam allowances, I tried to create a total of 1" gap - a little at the top cut and a little at the bottom:


All that's left is to redraw the crotch curve and make this new shape permanent. I laid some more tracing paper under my pattern piece, taped everything down, and drew the lines with a marker, using my French curve for the crotch line. You can also just eyeball it. Here's my new lines:


Cut that sucker out, and it looks like this:


My pattern altered, I proceeded to cut everything and sew it up. This pattern goes together pretty easily. I did flat-felled seams, which are my new favorite, and I added a little length to the bottom so I could fold it up to create cuffs: 


Here they are completed, nice and wrinkly from wearing around the house:


Oh, did you want a photo of me wearing them? You want to know if they fit? Well, let's start with the front:


Ta da! Looks alright, right?


I like the soft pleats. I like that they sit at about my natural waist. I love the pockets. I'm glad I added cuffs, but it turns out that they didn't need the extra length. I'm wearing them rolled up again in these photos.


Front is good! The back? Well...

Turning around. Still okay...


Detecting problems. What is that!?


Oh dear.


From the rear, these are baggy bloomers or Mom-pants gone wrong. I suppose this could be a style, but I have a feeling that this huge excess of gathered fabric is not what Simplicity had in mind. Now on the bright side, I think the crotch adjustment was the right thing to do - the crotch length on these is just right. The problem is in all the extra width - mostly at the waist but also across the back of the shorts. One problem is that Simplicity includes too much wearing ease. This pattern lists the finished hip measurements, but not the finished waist measurements - probably because you're supposed to adjust as you see fit with your elastic. Unfortunately, pulling my elastic tight to my waist creates the mess you see above.

So, while I thought the elastic waist was a good solution, it turns out this pattern is just not well-suited to pears. Unless you want baggy bloomer bottoms. You'll end up with too much unflattering gathering in back.

I'm not giving up though! I think these can be rescued, but it's going to involve a lot of unpicking my stitching as well as a zipper installation... and some darts. Wish me luck!