Friday, January 25, 2013

Binding a neckline slit - according to the pros


I went to our public library yesterday to pick up an armful of sewing manuals. I need them for an upcoming BIG project which I will reveal shortly. Here's what I came home with...


Cool Couture by Kenneth King, Great Sewn Clothes by Threads Magazine, Couture Sewing Techniques by Claire Shaeffer, and Linen and Cotton by Susan Khalje. First, let me say that the cover photos (with the exception of Shaeffer's book, maybe) are so 90s fabulous that in  my earlier sewing days I might not have even pulled these off the shelf. Appearances can be deceiving, though. Just like the dowdy Sewing Pattern Review website, behind these outdated facades is a wealth of sewing knowledge. Second, let me say that Kenneth King's book is actually from 2008... which leads me to say (in the words of lladybird) "LOL wut?"

Anyhoo, I was casually paging through these, sinking into a dorky sewing bliss, when I happened upon the answer to my question from last week - what is the proper way to finish a narrow slit in a neckline? Here is what Shaeffer has to say. You can do a rolled hem...


 Or you can use two separate binding strips like shown here:


I'm pretty sure that first picture is out of order though. Shouldn't that be the third step? Also, I'm not sure I understand how the finishing goes on the inside with this method. If you give this a shot, I'd love to see how it works.

Tuesday, January 15, 2013

Burdastyle Gathered Blouse - binding a neck slit

After spending all that time on my mom's robe, I wanted to kick-start my sewing for 2013 with an easy sewing project. Ha! I have yet to experience an easy sewing project, I think. Somehow I manage to complicate everything. Still, I have dreams of getting really good at a few basic patterns and being able to whip them up in a few hours. So I chose this blouse that was featured on Burdastyle.com last summer.


Looks pretty simple, right? I know that everyone complains that Burdastyle instructions suck, but I figured I could manage on my own for something straightforward like this. Unfortunately, I didn't even get to cutting the fabric without encountering issues. Check out these pattern pieces...


*blink*  *blink*

I started to add seam allowances to this piece (oh Burda... you lazy, lazy pattern publishers), but after having it in front of me for a few moments I started to wonder where the heck this piece fit in. The answer is, it doesn't. This is just an extra piece that somehow sneaked into the pdf file with the other legitimate pattern pieces. It's number sequentially along with the others, with all the trappings of a legitimate pattern piece, except it's f*-ing weird shape gave it away. Strange piece, you do not belong here. I dearly hope that some other poor pattern is not missing it's crucial, oddly shaped doohickey, causing seamstresses elsewhere to pull their hair and curse Burdastyle. But that's probably the case.

When I'm finally done with this blouse (which needs some major fitting adjustments right now), I'm going to post some pictures of how I constructed the sleeves, because I find that part a little confusing. But for now, I do have a short tutorial on how I finished the slit at the back neckline. I tried to find instructions online for doing this type of narrow slit using bias tape instead of a facing. You can waste a lot of time searching for something specific like that, however, so I gave up quickly and invented my own method. I don't know if this is a legitimate method, but I like how it turned out, so I will share.

How to finish a neck slit with bias tape

Burdastyle has you cut a slit directly down the center back of the blouse, starting at the neckline. I made mine about four inches long. Then I took my bias tape (self-made with a single fold down the middle) and pinned it to the right side of the blouse. I lined the raw edges up to the opening of the neckline slit, starting at the top and working toward the bottom, like so:


At the bottom, I folded the bias tape under at a 90 degree angle...

blurry, sorry
Then I folded another angle and pinned back up the other side...


The folds create a nice point. Next, I stitched around the slit, staying about 1/4" away from the raw edge. At the bottom of the slit, I curved the stitching and went back up the other side, going very slowly and carefully to try to keep it symmetrical and not too wide - I don't want a keyhole opening.


Then I took it over to my iron and press all the bias tape up and in toward the slit.


Pressed the little triangle at the bottom upward...


Then, I turned the bias tape to the inside of the blouse, and ironed it down.


Ooh, looks nice? Now, if you were being super fancy you could probably catch stitch this down from the inside, creating a little mini facing which is almost invisible from the outside. But this is not a super fancy blouse, so I just topstitched around the edge of the bias tape. Here is how it looks from the outside...


I'm pretty pleased with how tidy the result is. I can also see doing this with contrasting bias tape and sewing it on the wrong side first so that it will flip over and get topstitched down on the right side. It would make a nice little arrow shaped design feature.

Well, that's all I've got. If you know of another way to do this, I would be very happy to hear!

Tuesday, January 8, 2013

New Year Schemes

I'm breaking down and writing a New Years Resolutions post. I tried to resist, but I can't. After reading everyone's "Best of 2012" posts and their "New Year Resewlutions," I can't suppress the itch to document my own schemes for 2013. So here they are...

1. Finish sewing my jeans and perfect the pattern.


There was a hold-up on these because I became convinced I need a walking foot to sew the stretch denim... and walking feet are expensive. I finally splurged on one for my big Christmas gift, and it's on its way in the mail!

2. Sew these guys!

Despite being continually impressed by Tasia and patterns, I have yet to sew any for myself. The blogosphere is definitely in love with her work - did you see that she has four patterns in the running for top pattern of 2012, over at Sewing.PatternReview? Yah. I can't wait to join the masses who have reviewed and raved over these patterns. As a definite pear-shaped lady, I can't wait to try out the Thurlow trousers. And I just ordered some wool for a Minoru this week. So excited! And speaking of Sewing.PatternReview...

3. Participate in a sewing contest at Sewing.PatternReview

entries in the Little Black Dress contest in November
I've begun to pay more attention to this website in the last few months. For a long time I neglected Sewing.Pattern Review because of the shabby, out-dated website design. But recently I've found myself spending more and more time over there, and I've come to appreciate it as an excellent resource, gross color scheme aside. I really love browsing the contest entries, and this year I'd like to participate in one myself.


4. Sew something for Josh

a project which has yet to materialize.... hehe... materialize
This is way overdue.


5. Sew something green!


I think the whole Pantone color of the year thing is mighty stupid. One color? For a whole year? For everybody? But I love the color they chose for this year. So I'd like to sew something emerald.

6. Do some giveaways!

"Ah, now you're talking!" says my limited readership. Yes, I have vintage patterns to get rid of. I tried selling on Etsy, but it's not worth the hassle. I would rather just give them away to loving homes. So watch out for that. Plus, this would be an excellent way to boost readership... there's always an ulterior motive.


7. Blog more

If I want more followers, I really ought to have more content. And it's not that I lack material... there are several projects I haven't blogged yet and several ideas brewing. I'm not concerned about making this blog so polished and prolific that it could be a money earner (too much effort I think) - I just need to snap a photo (whether or not the lighting is perfect) and post the damn thing. Quantity, not quality, right?

Okay that's enough. I could get carried away with other goals about being a more careful seamstress, taking my time, listening to the fabric, making muslins, blah blah blah. That's just not as fun. So there's my list! Now time to get crackin.

Monday, January 7, 2013

Happy New Year! And a stylish bathrobe

Happy 2013 everybody! With vacation over and the new year begun, I'm looking forward to kicking off an excellent year of sewing. I've also really enjoyed reading everyone else's "year in review" posts. I can't believe how prolific some people are! For example... Sewaholic releasing 10 new patterns this year? That's a lot of work! Plus, Tasia is my new favorite for releasing pants for curvy ladies. No, I haven't sewn them yet, but I own the pattern and I'm so gonna do it.

Myself, I have not been so prolific this year. But I do have a finished project to share! For Christmas I wanted to sew my mom something special, and I decided on a robe since it's something that will keep her warm and get a lot of wear.

Mom looking glamorous in her loungewear
I forget which blog I read it on, but I remember being struck by someone who pointed out that most of us spend most of our time in loungewear, often changing into our "cozies" as soon as we come home. But for a lot of people who sew, the temptation is to make pretty party dresses more often than the basics and especially more than the stay-at-home comfy clothes that we like to wear. Since we have the ability, wouldn't it make more sense to treat ourselves to really nice clothes for lounging around the house? So that's how this idea formed.

The pattern is Vogue 1060. It's supposed to be a coat pattern, but I think it lends itself very well to a robe.


I don't much care for the standard bathrobe look - it doesn't really say "elegant loungewear" to me.I think this pattern has a lot more style. It has rows of darts on the front and back for shaping. Plus, it features kimono sleeves which allowed me to make the most of my limited yardage.

wrinkly, but you get the picture
In fact, I think I was able to cut this out of only two yards of 60" wide wool, although I did have to do some piecing at the collar to make it work and use different material for the facings. The outer fabric is a medium weight felted wool which I got off eBay. It was a fantastic find. A guy sold me a bunch of pieces of wool at just $4/yard. This soft green is my Mom's color, so I knew it was destined for her.

The lining is a cotton/silk blend I found on Etsy, and the facings are silk that I bought at Vogue Fabrics in Chicago. This was my first time working with these kinds of fabrics, and I have to say.... they were a pain in the butt.


Both these fabrics were super shifty while cutting. The cream colored silk was definitely the worse of the two though. I can't believe how much it can shift off grain while still lying flat. As a result, my facings ended up way longer than the front edges of the robe that I was supposed to line them up with. I made it work by doing a whole lot of easing, but it probably would have been wiser to just re-cut them, using spray starch this time. Lesson learned. On the bright side, I think the fabrics go beautifully together, and they do make for a very luxurious feeling robe.

When I took this home to Montana for Christmas and fit it on my mom, I discovered that the dart placement was just not working for her. I ended up picking all the darts out. The directions wisely recommended using basting stitches for the darts and putting them in last, but of course I did not listen. Another lesson learned. Once the darts were out, though, the robe fit much better. We decided to leave them out entirely. It does take away some of the shaping, but it's okay to sacrifice style for comfort for a project like this. Still, I'd like to make this robe again in a larger size and use the darts. I think they really add to it.

The final challenge for this project was inserting the lining. In fact, I had to bring it back to Indiana with me to finish the job, because I ran out of time in Montana to work on it. I'm a little disappointed that there's not a place online where you can find a complete, well-illustrated guide to bagging a lining. If found several that were good, but it was only by consulting four different sources that I was finally able to put it all together. Here's the four I consulted:

That last one in particular was helpful for figuring out what the heck is going on in the area where the facing meets the lining meets the hem. I'll admit mine do not look so nice as Gigi's, but next time I'll know to look there instead of just fudging things.

the trickiest part of bagging a lining, in my opinion
Despite its imperfections, my mom was very happy with it. And I'm happy to know it will get a lot of wear on those cold Montana mornings.

Sunday, December 9, 2012

Sewing jeans resources

Not a lot happening on the jeans scene these days. That project ground to an abrupt halt due to two problems. Problem #1: the stretch factor. My jeans are made of stretch denim. [I probably should have mentioned that at the beginning. The pair of jeans I deconstructed to create a pattern was made of stretch fabric, and so too will be my self-made pair. Do not try to take a pair of non-stretch jeans and make a pattern that you will use with stretch fabric. That will probably not work so great. And don't do the reverse either. That would really be disastrous.] Anywho, I had done a lot of the construction, the pockets were looking cool, the fit was a little wonky but I had fixed it, I was getting pretty excited about having some awesome jeans to wear... AND THEN! Topstitching was my downfall. First, I had to play around a lot with the tension settings to get topstitching to work at all. (I'm using a proper jeans topstitching thread on top, and regular thread in the bobbin.) Unless I set the upper tension to be quite high, I would end up with big messy loops of thread underneath. "Okay, fine," says I, "I will use this wonky tension setting." All goes well for topstitching the pockets. When it came time to topstitch on the back yoke, however, it was not fine at all. The topstitching stretched out my fabric every time. I messed with the tension, but that only created the messy thread loops again. I tried putting some twill tape under the seam, thinking that might prevent the stretch - not really. Plus, I don't really think that's a legit method for stretch jeans since I want some stretch after they are completed. I despaired. Then I googled, and I found this discussion on Sewing.PatternReview.com:


Internet seamstresses are the best. There's so much great info out there. If you are having problems topstitching your stretch denim, definitely check out this thread. Some things they recommend:
  • lightening the presser foot pressure (sadly, not an option on my machine)
  • using a tear-away or water soluble stabilizer
  • using a longer stitch length
  • using a presser foot with a groove on the bottom
  • using a walking foot
I think the walking foot is the golden ticket. Unfortunately, they can be quite pricey, so I'm hoping Santa  can help me out. For now, the jeans will have to wait. It's for the best, since it's high time I got started on sewing presents for other people. I thought, however, that I would collect some sewing jeans resources for people to investigate if they are going through similar struggles.

I could post a series of links, but instead I decided to just do a Pinterest board, which is more visually appealing and easier to add links to later on. You can even add stuff to it if you want, although you have to email me first so I can add you. Gah! Online learning communities make me feel so warm and fuzzy - how about you?

Monday, November 26, 2012

Making a Jeans Pattern - Tracing the Sacrificial Lamb

It's can be hard to take your scissors to a perfectly good, well-fitting pair of pants. In fact, I think the reason I haven't attempted this sooner is because I couldn't bear to make the sacrifice, even if they were thrift store pants. If it helps, you can say some nice words about the pants before you cut into them - you know, remind them that this is all part of a bigger plan, for the greater good, and so on.

Instagram filter for nostalgic effect
I still have some regrets about not taking a photo of these while they were still whole. All I have is memories. *Sigh*

Whatever! I'm going to have pants that fit when this is through! So here again are the pieces.


You can see (kinda) that I cut right along the seam lines, and I didn't preserve any seam allowances, so I'll have to add those back in. I gave everything a good ironing so that it will lay flat when I trace it. I haven't cut the pocket stuff apart yet. I want to be able to trace the front leg piece as a whole before I do that. And you also may have noticed that the legs seem a little.... stumpy? It's not that I'm a shorty. These are/were capri length. It would have been nice to use some pants that were the length I want for the end product, but these fit well in the butt and waist and that seemed like the most important thing. I can always add length.


I just compared my pieces to a pair of jeans with length that I like, and added in the difference. (NOTE! I didn't think of this at the time, but I should have added in the difference plus a couple inches extra in case of shrinkage. It's the wise thing to do.)

I'm tracing all my pieces on a roll of tracing paper that I got at an art supply store. There's not a lot to say about the tracing process. I just drew around everything with pencil, and then cleaned the lines up with French curve when I was done.


Of course, then I spilled water on some of them which made the paper wrinkle. So I re-traced. Can't be lazy. I also labeled everything like a good girl, put little marks where the belt loops were located, and noted how many pieces I would have to cut. After that, I went around and added 5/8" seam allowances on all edge (not present yet in the photo above).

One piece which is a little weird is the fly facing:


It's a piece that is cut on the fold, left folded in half, and then stitched on the bottom edge (marked "finished"). Then that edge was trimmed and it was turned inside out to create a clean finish on the bottom edge. You can see that I still need to add a seam allowance there in my tracing. The serged edge doesn't need a seam allowance added, not unless I wanna do some other kind of seam finishing there.

I also had some edges that came out a little wonky... maybe because of my over-zealous cutting when I hacked everything apart. For example, there's a little dent out of the crotch curve on the back leg piece:


I decided it's best to just smooth those things out to lines that look nice, and move onward.

For the waistband, I ended up tracing three separate pieces: one for the back, one for the front left, and one for the front right. I'm not sure why the front left and right are different lengths, but I'm sure all will be made clear when it's time to sew it together.


This waistband is about 2" wide, so I made sure all my traced pieces maintained that same width when I evened out my tracing lines.

Finally, the pocket area. First I traced the front leg piece with pocket still attached. Then, I cut off the piece above the pocket like so, and traced the curve of the pocket line:


Once that was traced, I added a seam allowance on the outer edge of the curve, and voila, my front pant piece is drafted.


I'm not cutting off that corner at the upper left yet, though, because it's another piece I have to draft. I laid tracing paper over...


...and traced the lines for the top and sides of the pants, as well as the pocket line. What I'm calling the "pocket line" is the line where the actual edge of the pocket will fall, after everything is sewn together and seam allowances are folded back. Next I drew a line for the bottom of the pocket bag:


This involved some guesswork, since at some point I had sliced and diced the original pocket bag...


Oh well! Doesn't really matter so long as all the seams match up with the edges of the front pants piece. Now, from this tracing I actually needed to make a few separate pieces. Since I'm no Photoshop pro, I decided to just draw you some diagrams and color them with pencils. Any shortcomings in these drawings are entirely the fault of the colored pencils, which were crappy.

Okay, so first we need a piece for the upper, outside corner of the pant leg. It consists of that corner that gets cut out of the front leg piece, plus a little extra so that your pocket bag doesn't peek out. Like so:


I colored the corner piece red, and here is how I drafted it:


The picture above shows the corner piece with all edges and seam allowances colored in red. How far does the corner piece need to extend beyond the pocket line? I really don't know... I just eyeballed it and drew a line about 2 inches below where the pocket line was, then added the seam allowance.

Next comes the pocket bag. The edge of the pocket bag will match up with the edge of this corner piece (not including seam allowances). The pocket bag piece is marked in green pencil below. Things are starting to look a little messy, but so long as you keep track of which lines are your stitching lines and which lines are your seam allowances, you'll be fine. In this case, the line that is colored both red and green is where the stitching will connect the pocket bag to the corner piece. The pocket bag's seam allowance extends to one side of it, and the corner piece's seam allowance extends to the other. And if that doesn't make sense... well, you can email me or leave a comment.


To sew up both pockets you'll need to cut four of those pocket bag pieces total. Now for the last piece... it's a facing for the front of the pocket. The facing gets sewn to main front pants piece along the pocket line, and turned to the inside. It also helps to keep the pocket from peeking out. Now, my ready-to-wear jeans don't have this - they just have the pocket bag sew directly to the front pants piece, and then they understitch it. You could do that, but then you would need separate pattern pieces for the front and back of the pocket bag: one which matches up with the edge of the corner piece, and one which matches up with the edge of the pocket line on the front pants piece. If this is totally confusing, just get out a pair of jeans, turn them inside out, and stare at the pockets for a while. You'll see what I mean. I thought a facing made more sense so I drafted one, thus:


Yep, that's a lot of confusing lines. The green is the pocket bag. The blue is the facing piece. The seam lines for this piece are the pocket line and the line that marks the edge of the pocket bag/edge of the corner piece. Seam allowances are added on the outside of both these lines.

Blech! That was not fun to explain, and I hope I did an okay job. Also, I didn't draft a coin pocket (that little dinky pocket nested inside the bigger pocket) because I am LAZY. Also, who uses a coin pocket anyway? Maybe next time I'll do it, just for looks.

So that's it! Any pieces I missed?

Saturday, November 10, 2012

Makin Jeans!

How nice is it to find a pair of jeans that fit you really, really well? REALLY REALLY nice. Like most people, I think, I don't have such an easy time of it. My hip to waist ratio just doesn't mesh with the kinda standard sizing you find in most clothing companies, although stretch fabrics and the introduction of "curvy fit" jeans does help. Oddly enough, it seems that I often get the best fit from pants I pick up at Goodwill... pants that appear to be from the early 90s...

Some "vintage" jeans on Etsy. Already sold, but don't worry ladies, Goodwill has a healthy supply unless the hipsters get there first.
But let's face it - those thrift store jeans will only get a girl so far. I will never look as chic in 90s pants as the young woman above... and I'm not even sure she's pulling it off. Just go check out the rear view, and you'll see. Still, the proportions are right... smaller waist, bigger hips than today's jeans, which tend to do this on me...

source, from Alterations Needed
For a while now it has been by aspiration to tackle this issue, create jeans perfectly fitted to my dimensions, and laugh in the face of those silly standard sizes! Ha! Stupid sizes! I used to think I was the one with the problem, but now I know it's YOUR silly assumption that all people are built the same. Really. Standard sizing, you are an idiot.

Ahem. Anyway, to achieve this, I knew I could rely on any standard sewing patterns either - at least, not unless I want to do a zillion fitting adjustments and multiple muslins. Nope! Thankfully, Tasia has heard the cries of the curvy folk and delivered an excellent pants pattern, the Thurlows, but they aren't jeans style and they aren't made for stretch fabrics. I have my Thurlow pattern and will definitely make some up in the future,  but to make my own jeans I decided to go rogue... and MAKE MY OWN PATTERN. Okay, that's not that crazy, but I've had a lotta coffee this morning.

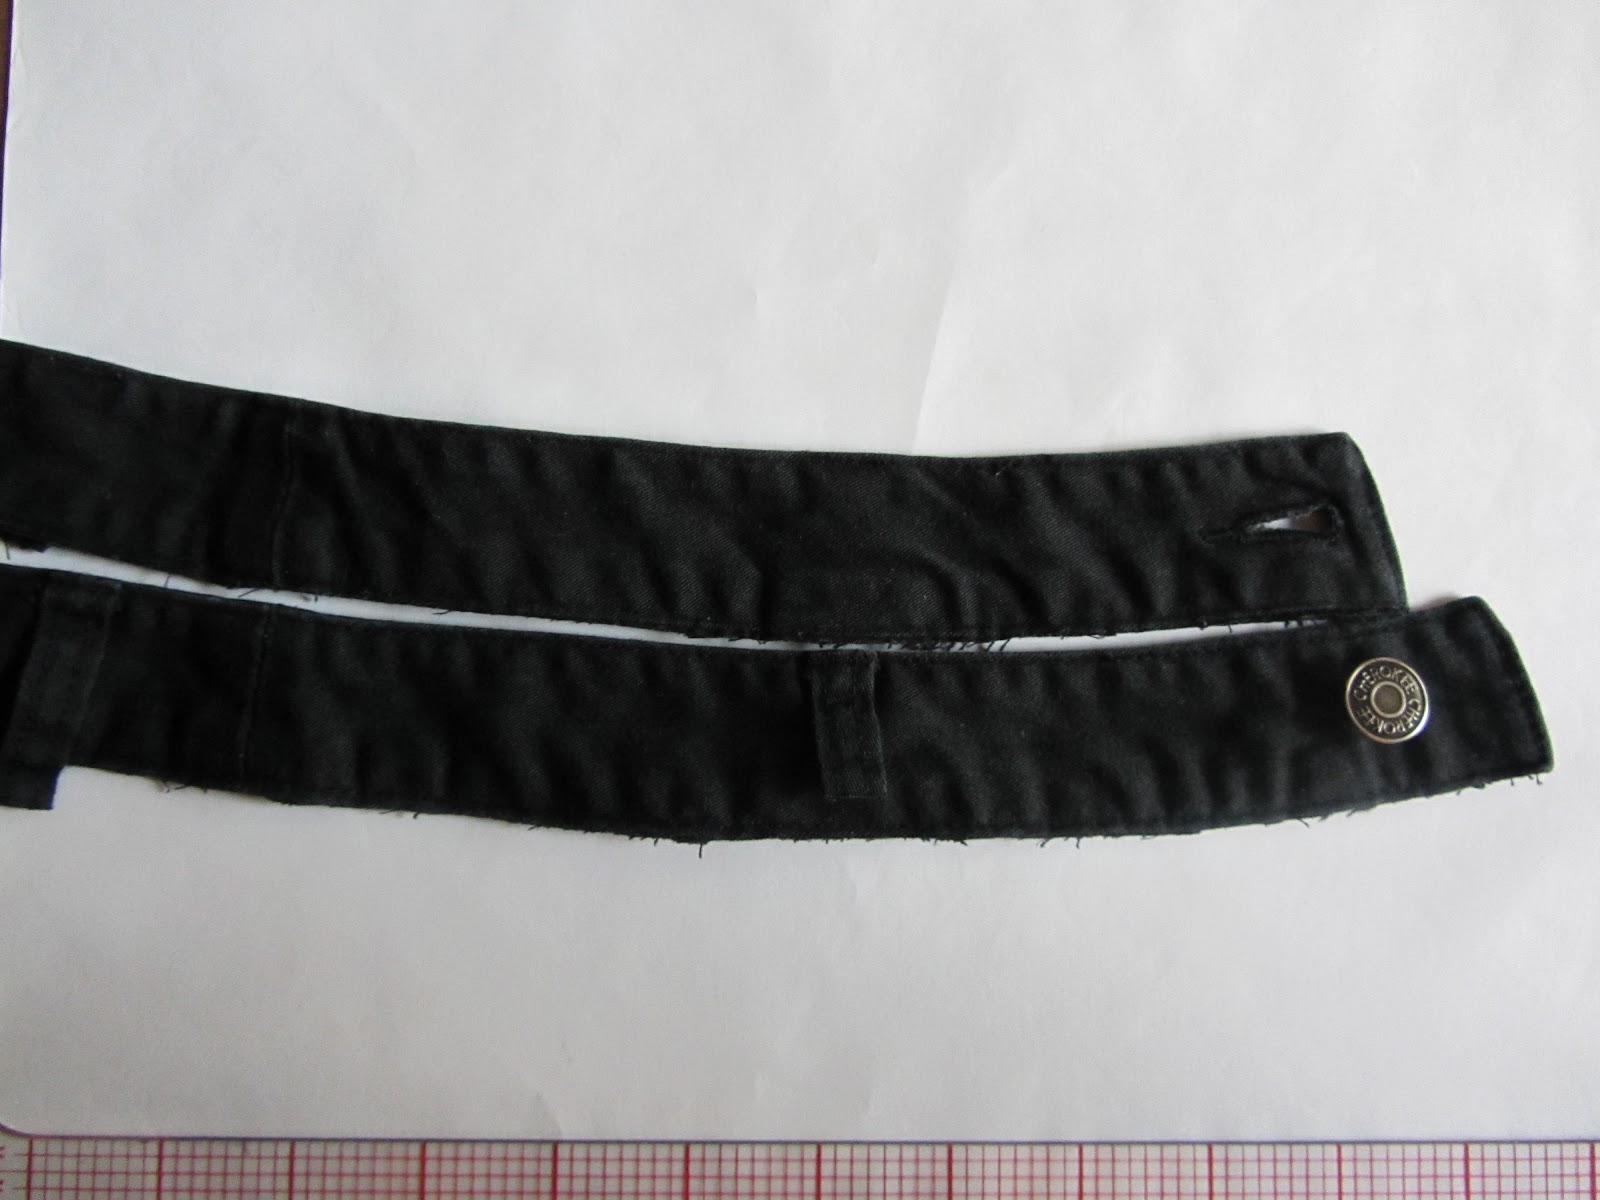
So I took a pair of those 90s pants from Goodwill that fit me nicely and I cut them apart at the seams. I didn't bother unpicking the stitching... that would of been a pain in the ass with all the serged seams. Here they are, deconstructed...


(Sorry for the crappy photo. I like to work in the afternoon when the sun comes into the dining room, but it is not nice for photos.) I was pleasantly surprised that there weren't that many pieces. Pants aren't that complicated, even though sewing people sometimes think so. There's a front leg piece, a back leg piece, a yoke piece for the back, the fly facing doohickey, the waistband, and that's it. Oh wait. I forgot about all the pocket stuff. Okay, actually, they are a little complicated, but I'm going to try to document how I've gone about making my own patterns and sewing it all together in the next few posts. With any luck, at the end of this I'll have a perfectly fitting pair of me-made jeans and a pattern which I will use to sew dozens of variations while laughing in the face of ill-fitting commercial jeans! Wish me luck!