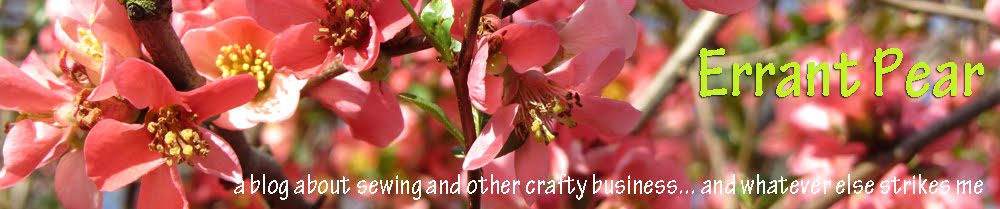
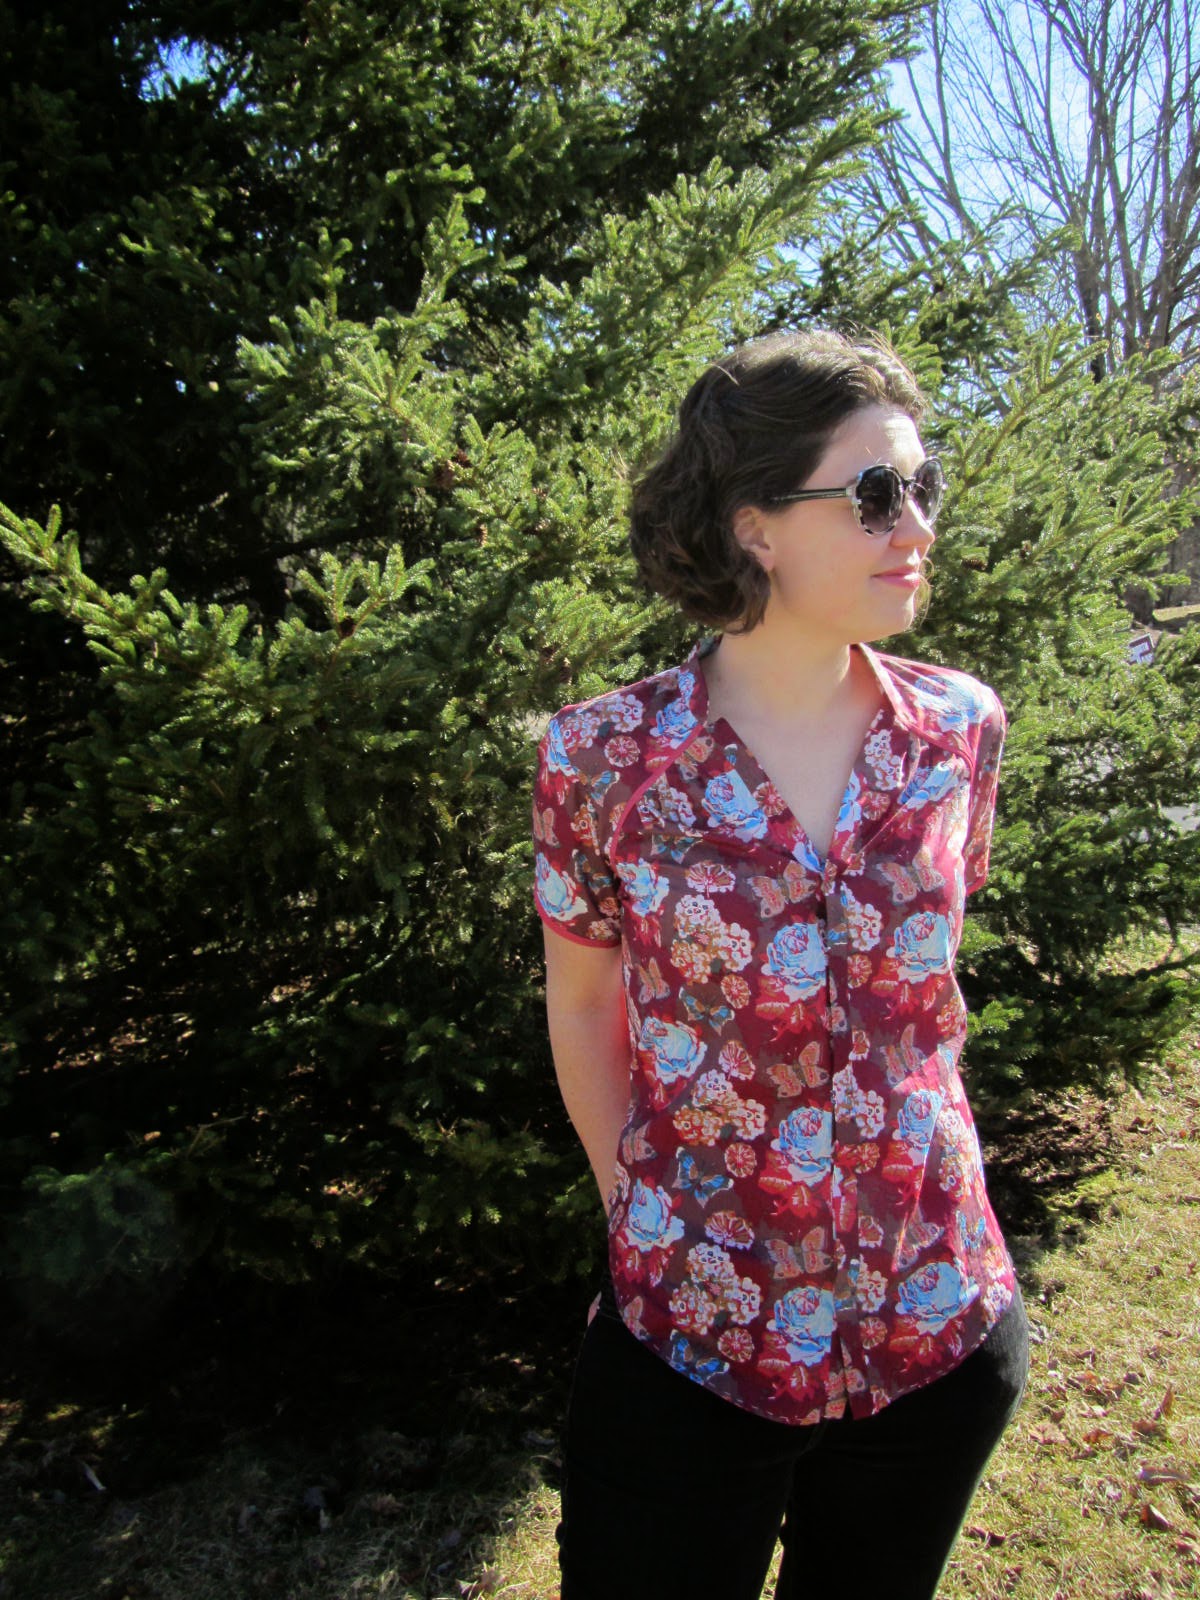
This is Vogue 1387, my triumphant success after the fitting failure of Simplicity 8399. Through that failed project and this successful one I've learned a lot about fit - particularly about upper backs and sleeves. After throwing Simplicity 8399 away in disgust (and I never just throw patterns away), I debated whether to go for another classic blouse pattern or something a little different. I settled on Vogue 1387, view B (on the right below).

I love both views of this pattern, because I don't usually like the way I look in traditional shirts, unlike this classy looking lady:

I don't know why I can't rock this, but I think it's something about the collar. Too much clutter around my face? Too menswear-y? So I latched onto view B of Vogue 1387 as offering a different take on the classic shirt. The placket angles away from the face to create a sort of v-neck effect, which I really like. There isn't really a collar, only a collar stand. And the curved yoke and little pleats are neat details that make it more feminine. Nothing menswear-y about this! Especially not when made up in a flowery voile. (This is Anna Marie Horner lou lou thi, that I got on clearance from fabric.com a long while back.)
This is only the second Vogue pattern I've sewn, but I'm on my way to being an ardent fan. I love the detailed instructions and the nice details and finishes. I really tried to follow the instructions to the letter on this one, instead of winging things in my usual manner. And while the details on this blouse might be rather fiddly for some people's taste (especially all those little tucks on the front), I really enjoyed being meticulous and slow on this project.
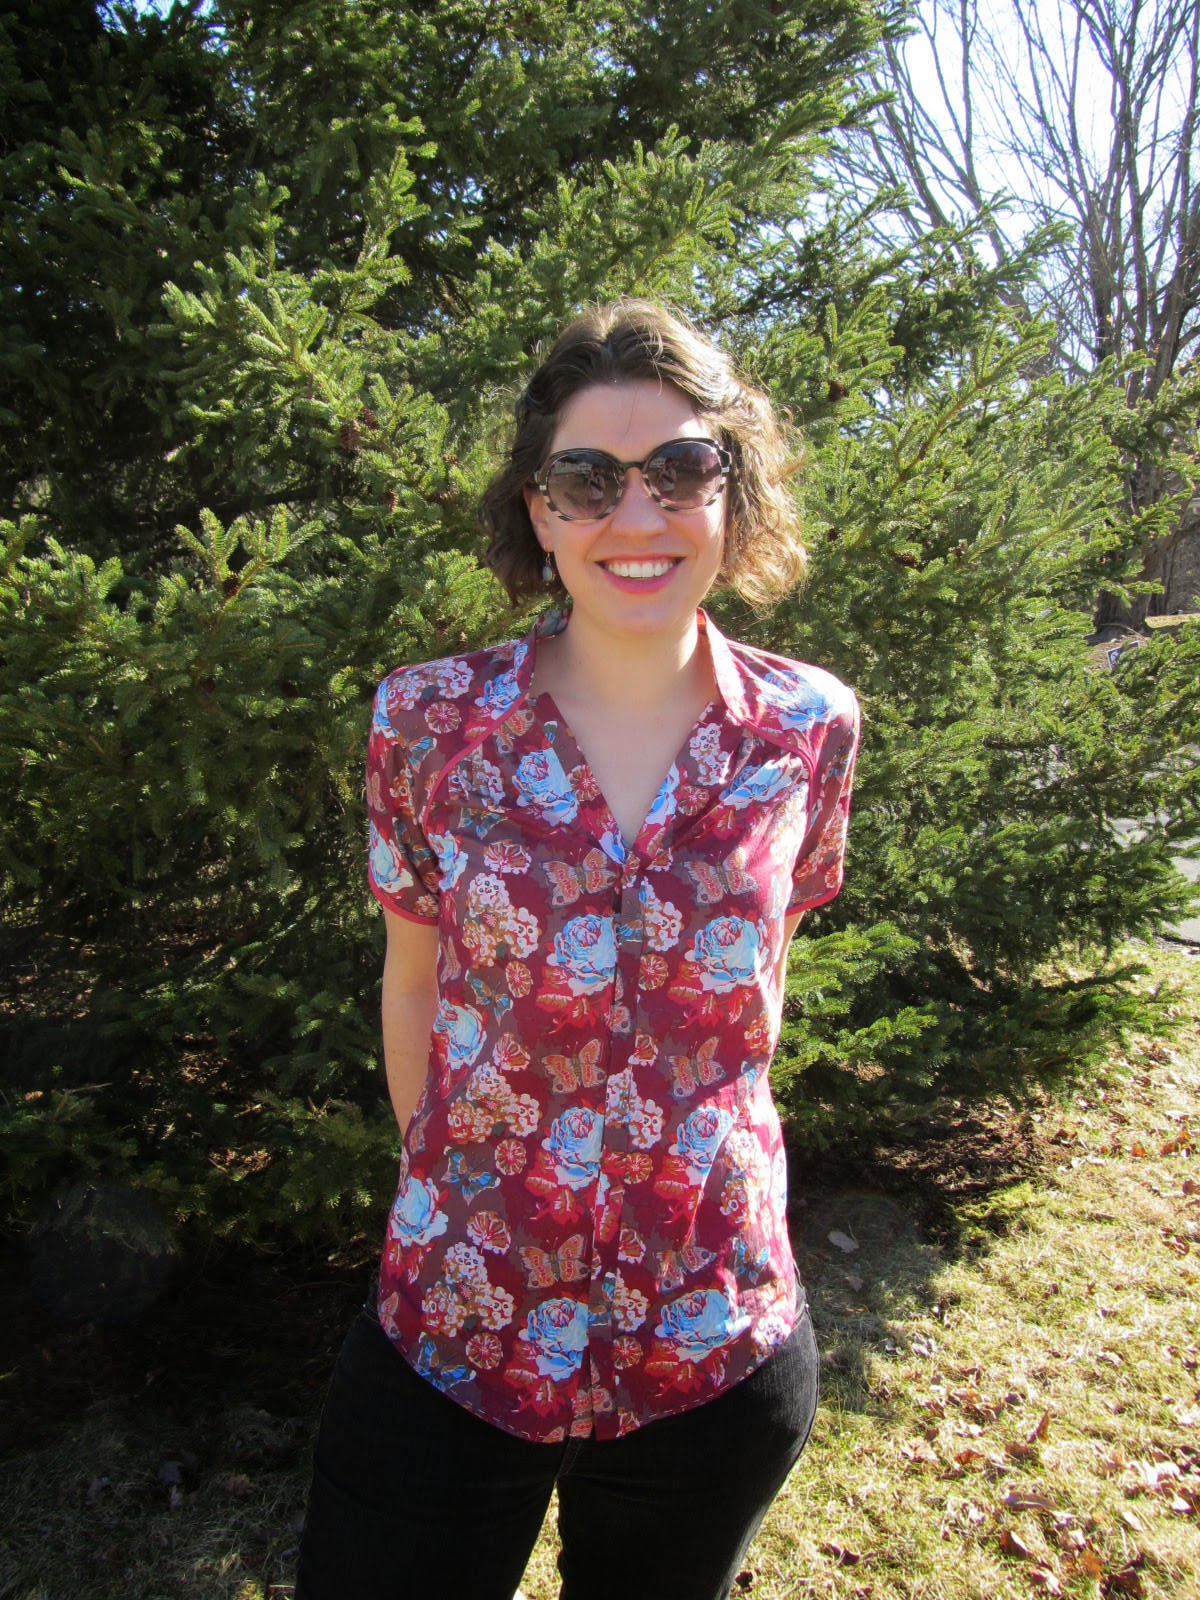
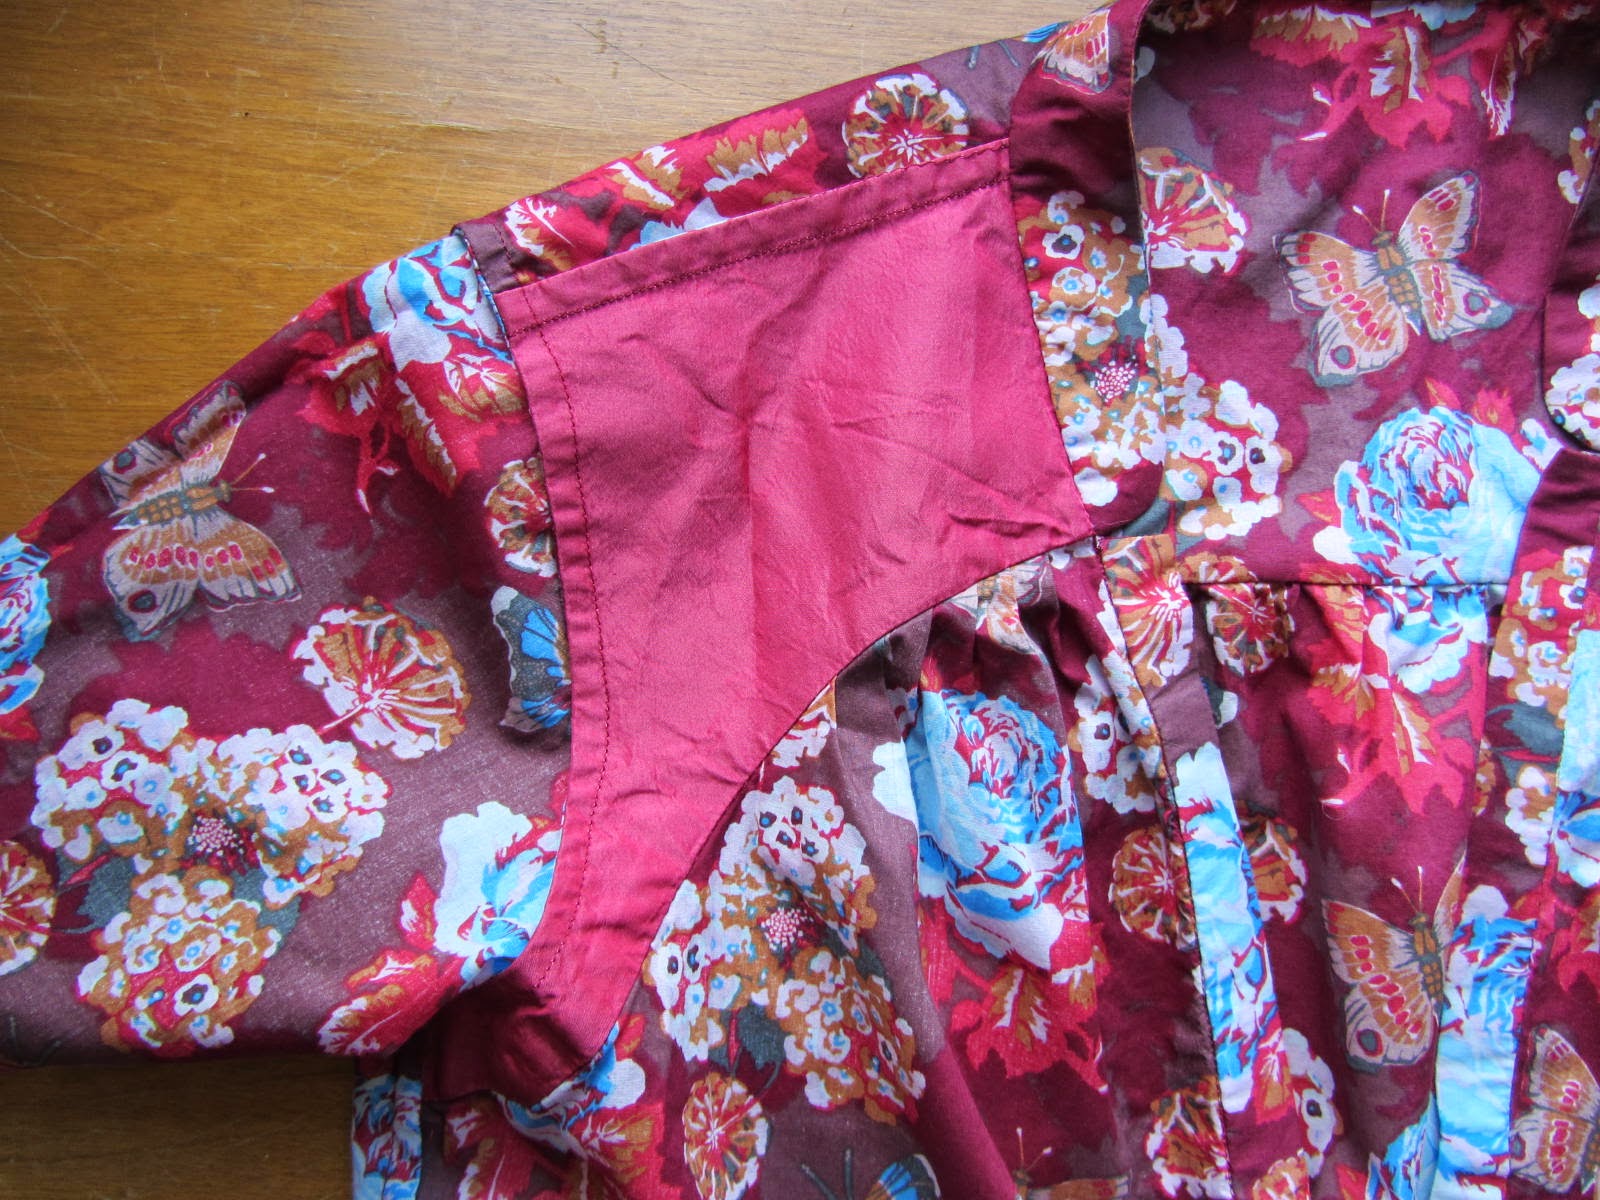
Here's a closeup view of the yoke and the decorative bias strips:
 |
| A tad wrinkly from the wash. Note to self: remove garment from delicate garment bag before placing in dryer. |
I used French seams all over the place - the shoulder seams, the side seams, the armholes. The below view is the blouse inside out, which I think looks pretty dang good (aside from the wrinkles).
 |
I even hand-sewed all the snaps on, as directed, although I missed the bit about sewing the decorative "x" over each snap.

You might notice that I didn't stress about pattern matching at all on this. I'm very frugal with my fabric. Since I had three yards of this, I wanted to have enough left over for a second project. So I fit all my pattern pieces on the smallest yardage possible and I cut my yoke facings and bias strips from a thrifted shirt in a coordinating color.
I love finding nice quality fabrics in thrifted clothing and then incorporating them into garments this way. It's much cheaper than buying small yardages of nice fabrics online (although maybe not as convenient - you take what you can get when you're thrifting).
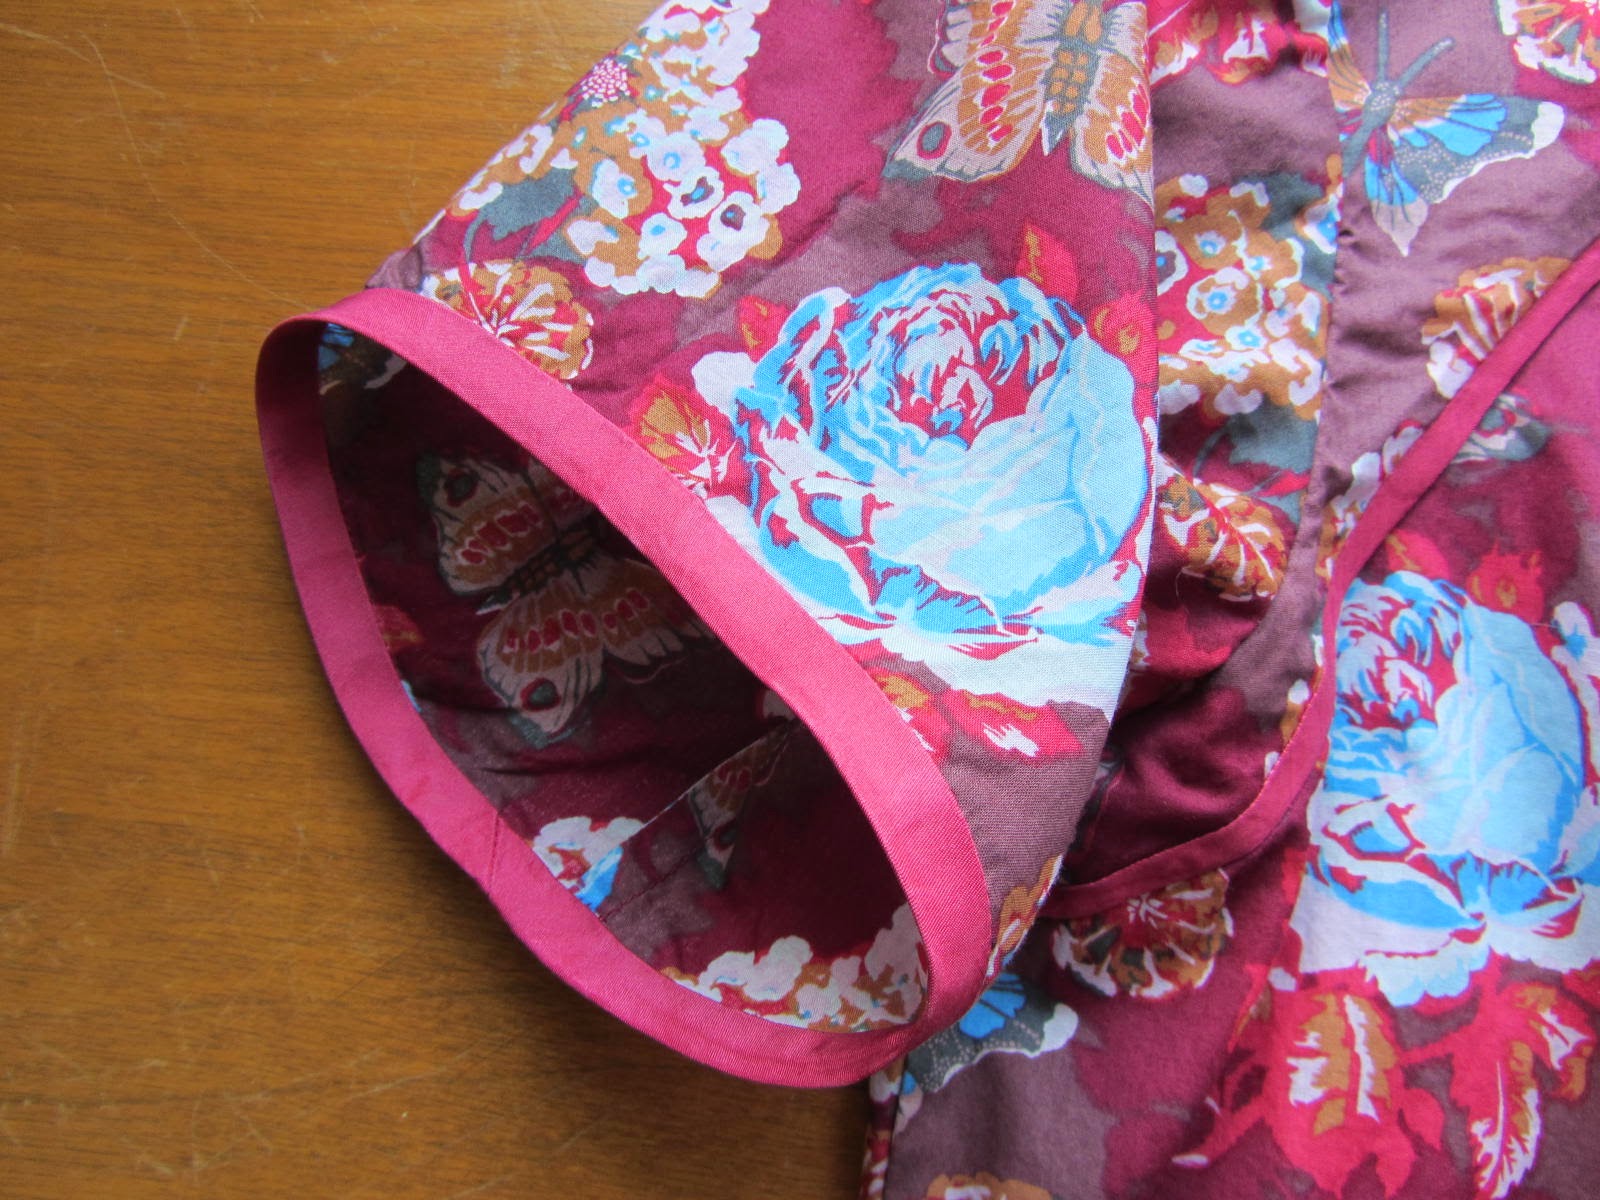 |
| sleeve hemmed with bias strips and invisible hand-stitch finish |
I also opted for short sleeves, and I finished them with bias binding. I was originally going to fold the binding to the inside and stitch it down, but it was looking so pretty that I decided to leave it visible. The length of the sleeves is maybe a bit long. I might shorten them an inch or two if I make this blouse again.
As for fit alterations, here's some of my notes...

I'm a 36"-29"-44", for reference. I cut a size 14 with some modifications after doing a muslin. I curved in the side seams, which are drafted to be straight (if I remember correctly). I raised the armhole a half inch, to allow more movement. That meant changing the sleeve cap a little to adjust for the lost length of the armhole seam, and that's what the little chart at the bottom of my notes is for. Also learning from my previous blouse, I widened the upper back, although I forgot to note this is my little book. Getting the fit right in back is tough for me. Widening the upper back makes the lower back blousier, where I really don't need the extra room. I don't mind for this shirt too much. It'll just have to be casual and breezy. But if I want a more tailored look I think I'll have to go for a pattern with princess seams.

I also made some extensive changes to the sleeves in order to get the range of movement I like. I hate feeling restricted in my clothing, and after all the messing around I did with that last blouse pattern, I think I identified both the problem and solution for my sleeve fitting issues. In the photo below, the pencil line is the seam line for the original pattern. The pink line is my new, roomier seam line. If you think of this seam line as a hill, a steeper slope makes for more restrictive movement because the sleeve will hold your arm in closer to your body. The more gradual slope of the sleeve I drafted adds in extra fabric to the sleeve where it joins the body of the shirt, allowing your arms more room to lift and move around. Of course, that extra fabric will form some extra folds or wrinkles when your arms are hanging at your sides, but that doesn't bother me.
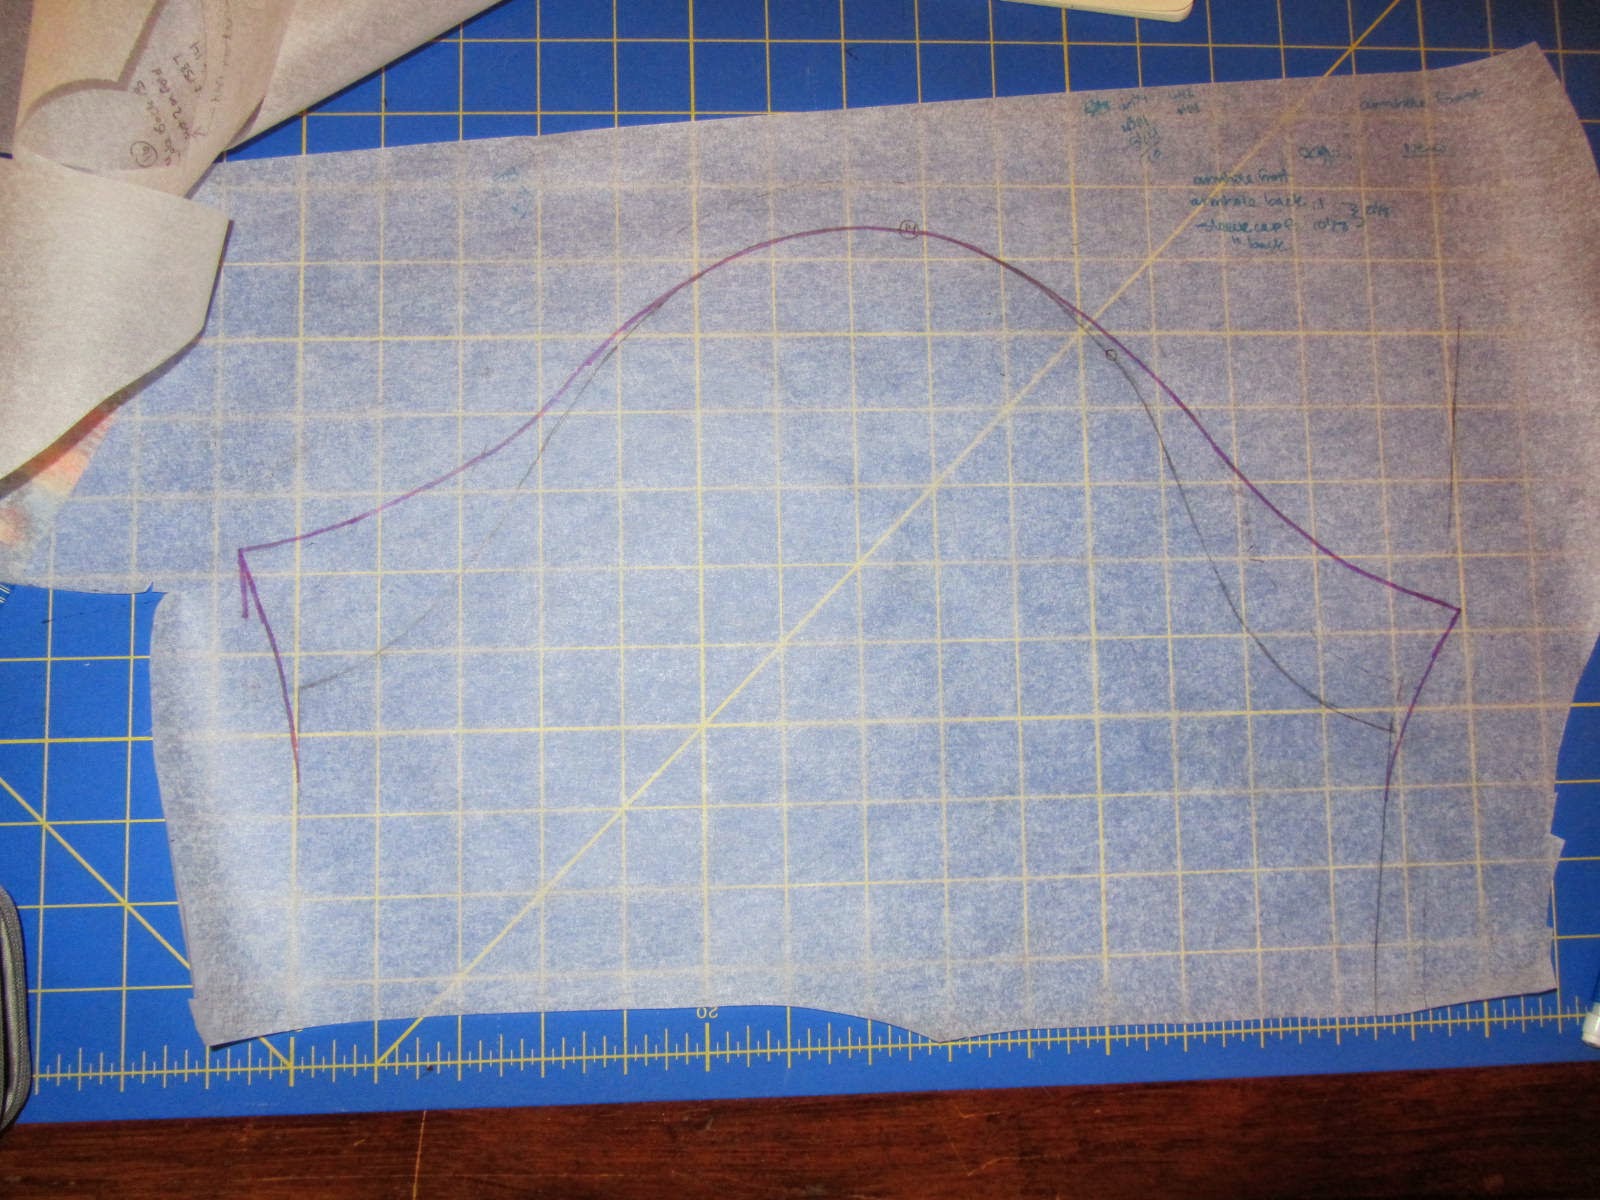
The length of the sleeve seam where it joins the armhole of the garment stays the same for this alteration, which is why the seam line extends out to the sides on my pattern piece above - making little "wings." If I didn't extend those wings out, the armhole would shrink, and I don't want a smaller armhole. Hope that all makes sense. And I'm happy to report that all those alterations were successful! I can reach objects on high shelves without feeling like I'm about to bust a seam!
Overall, I'm quite proud of how this turned out, from fit to finishing. This pattern gets an A+ from me, and I'm excited to try my next Vogue pattern.