
I underlined the upper back bodice pieces with silk organza - hand basted together. I think for every minute I sit at my sewing machine, I probably spend at least 20 minutes hand sewing - but at least I can sit outside on the deck for these parts!

(Speaking of organza, I bought the cheapest silk organza I could find off of Dharma Trading Post. It gave me some trouble on the skirt, as the large pieces wanted to stretch off grain really easily and create bubbles. I'm not too worried about this for the skirt, but I didn't want to mess around with poor quality organza for the bodice back, which really needs stability under the floppy lace. I also read Gertie's post on how "Not all organza is created equal." I ended up purchasing some organza off my sewing instructor that she had bought from Thai Silks. If anyone has had experience with any of these organzas and has opinions to share, I would love to hear! So far the Thai Silk stuff seems okay.)
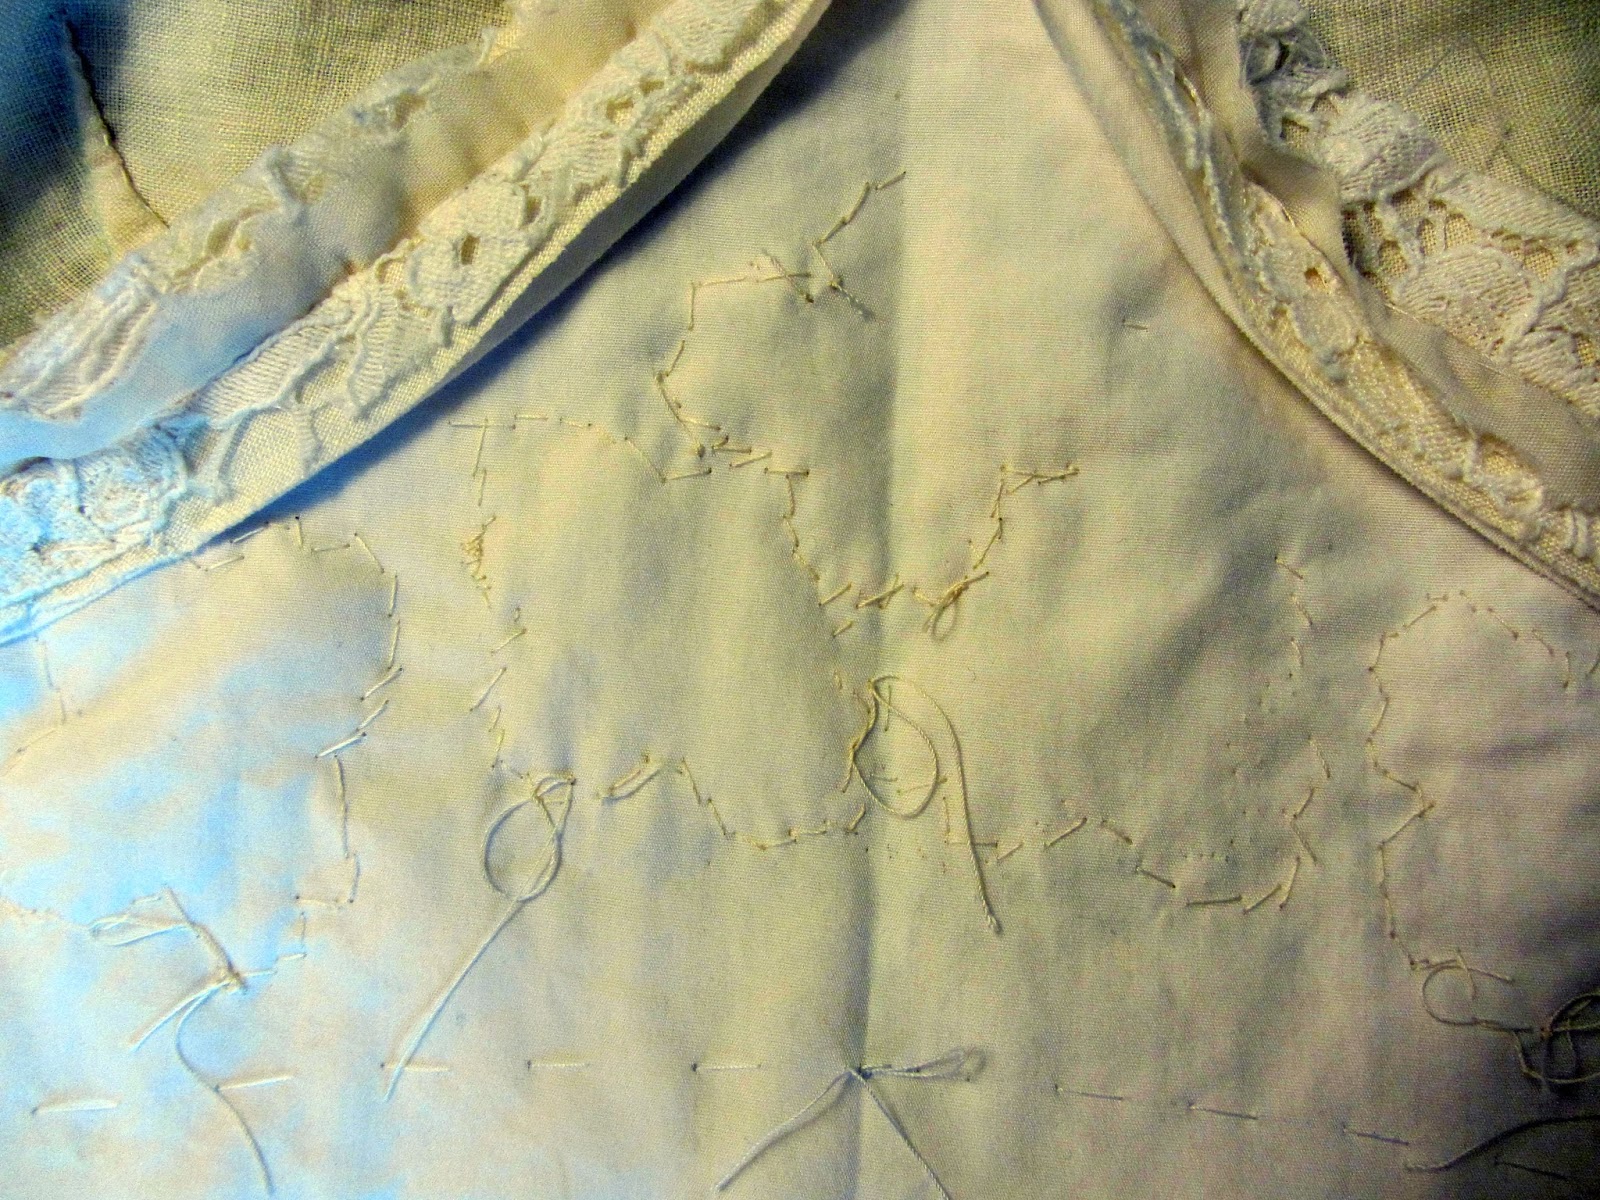
I stitched along the dart lines too - both legs as well as the center. It's hard to see here, but the arrow is pointing to the dart.

After stitching around all the edges, I went back and added stabilizing strips of organza along the neck and armholes, to prevent stretching. I followed Gertie's method exactly this time, using short strips cut on the straight grain and folded in half.

I'm not going to worry about the front neckline and armholes, which I stabilized differently. For those I just used one long strip of organza, cut from along the selvage on the straight grain. In that case, I forced it around the curves, rather than using many short strips fitted to the curves. I think it should be okay, especially with the trim along the neckline, which should help prevent stretching too.
Here's a close-up of the armhole. You can see the organza strips a little better, with their edges zigzagged by my pinking shears:

Next, I stitched the front bodice pieces to the back at the shoulder edges, using more organza to stabilize the seam.

Since the back is going to be transparent, I pressed the seam allowances toward the front and stitched them down to the linen underlining. I haven't been trimming my seam allowances... I'm not sure whether or not I should, or how much I should, especially since someone in the future (hopefully not me!) might want to let the seams out or take them in.

Next up was a confusing time figuring out the "sewing order of operations," which I think is one of the trickier parts of sewing. You can see I left the trim hanging long off the front edges of the bodice, because I want to be able to wrap it around the back in one piece instead of having side seams in the trim.

If you think about it, that means that I need to sew the upper bodice back and front together at the sides, then the front and back midriff/waistband pieces at the sides, then sew the trim down, then sew the upper and lower bodice pieces together. If you're confused, I can empathize. It's a bit of a puzzle. Here is what it looks like on the inside.

(You can see in the photo above that I pressed one of the side seams to the front and stitched it down, just like on the shoulders.)
This order of construction creates a dilemma because it means if I want to take the dress in or let it out at the side seam, I would have to reverse that order of operations: separate top and bottom pieces, undo the trim, let out the upper side seam, let out the lower side seam. Does that sound like a nightmare? It means I really, really need this dress to fit Katie when I get it to her, because any adjustments at the side seams would involve many steps. So when I got to this point, I measured everything carefully and compared it once more to Katie's measurements...
...and discovered that the bodice was 3" too big. That set in motion a series of frantic measuring, re-measuring, head scratching, heavy sighing, and hovering on the brink of despair until Josh came in the room to check on me. As soon as I started explaining my dilemma to him, I looked down at my pattern pieces and immediately saw the problem. Pretty much as soon as I told him I couldn't figure it out, I figured it out. Ever have a moment like that? It turns out that when I adjusted the pattern the last time, I got my cutting lines and seam lines confused, so I ended up with an extra 5/8" width at every side seam. Whoops. At least it was an easy fix, and everything is resolved now!
Once I was able to stitch up the side seams and stitch the upper and lower bodice pieces together, I moved on to the applique. I spent an evening and a morning stitching on the flowers my sister bought on Etsy.

They're a little hard to see in the above photo. They are more obvious when you see them in person. Here's some close-ups...

On the sides the waistband is too thin to fit the flowers, so I overlapped and underlapped them with the scalloped trim. Another possible mistake turned "design feature!"

And with that, the bodice is done! Yayyy! Except I should probably still trim some seam allowances and maybe stitch them down or something.
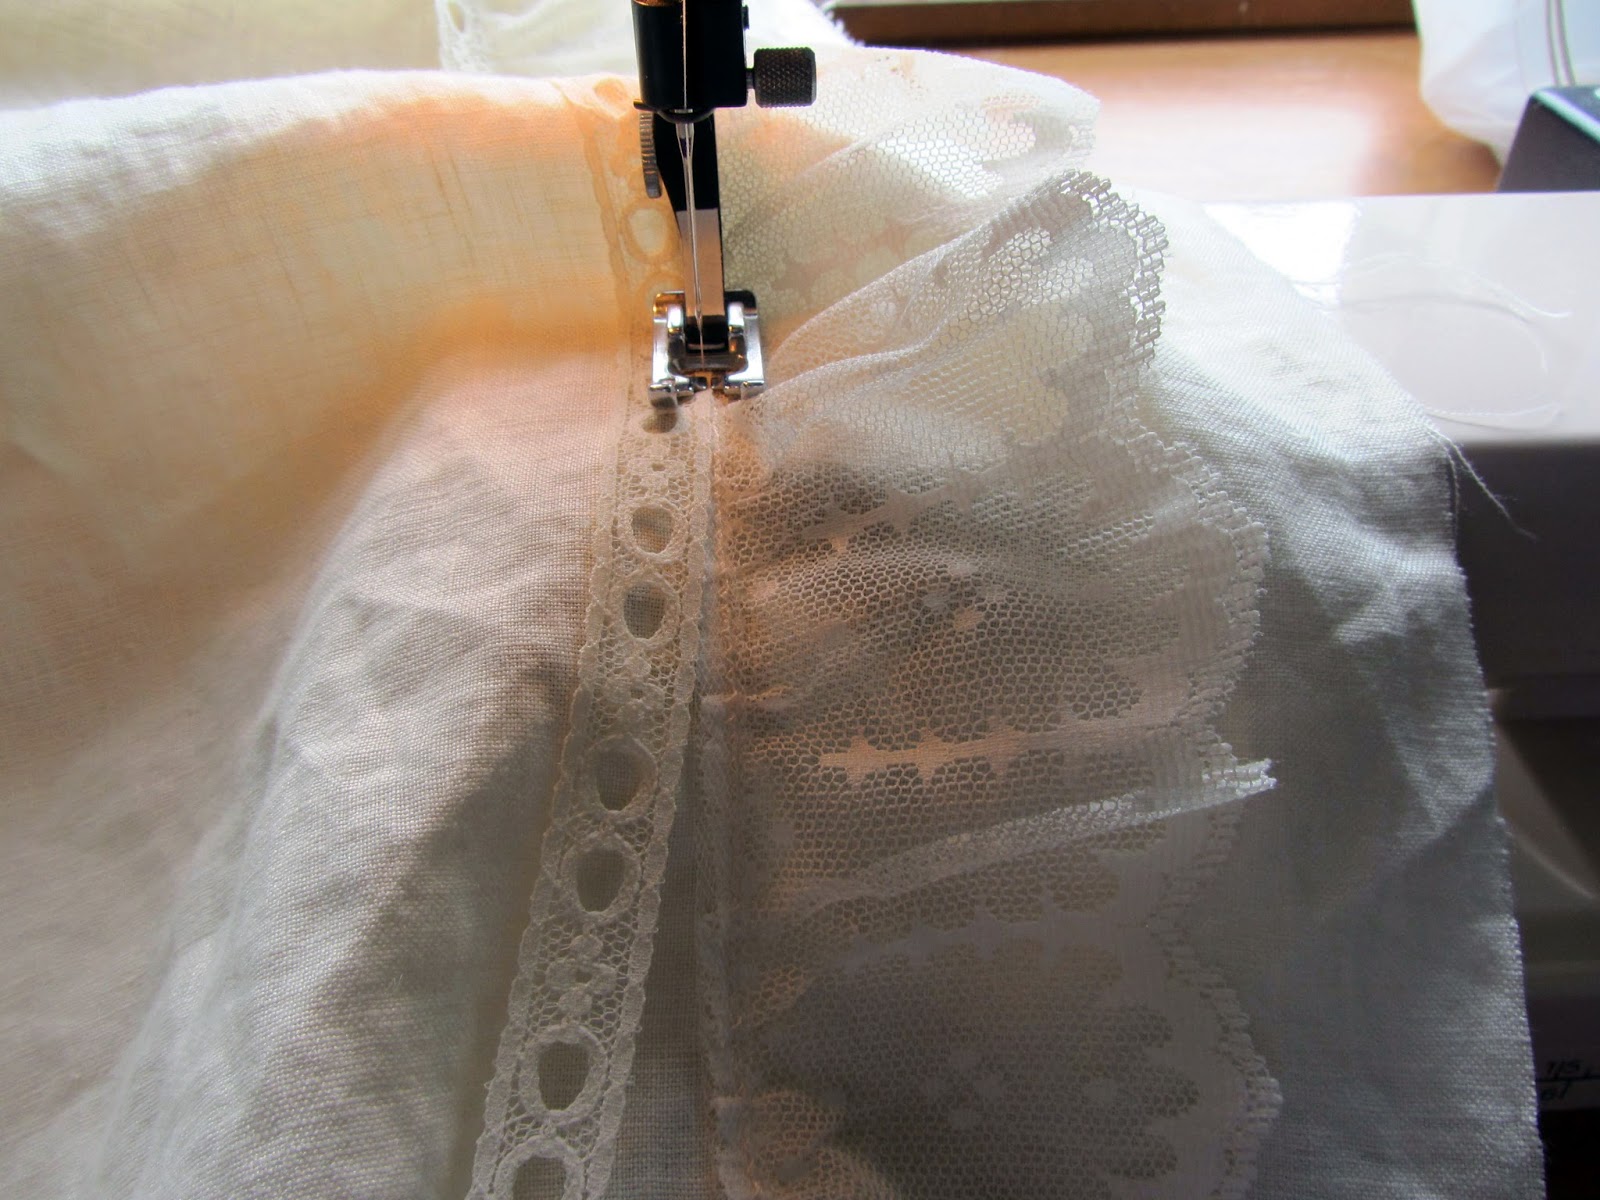
Now I've moved on to finishing the skirt! I was feeling kinda impatient/confident, so I didn't bother basting down the trim. I just stuck in some pins and went at it with a zigzag stitch.

You can see there's a big ol' hem allowance to the right of the trim. It wasn't intentional. That's just how much extra was left after I calculated the length Katie wanted. It's all good though - lucky even - because I'm going to use that extra wide hem allowance to cover up some horsehair braid. (Photos of that next time)
To cover up the top edge of the lace trim and make it look pretty, I stitched on another row of narrow lace using two rows of straight stitches.
This narrower trim looks like it could use some ribbon woven through it (time allowing).
And that brings us up to date! If you've read all this, I commend you! And I'm off to sew some more.