
I'm here today to talk about my birthday suit!
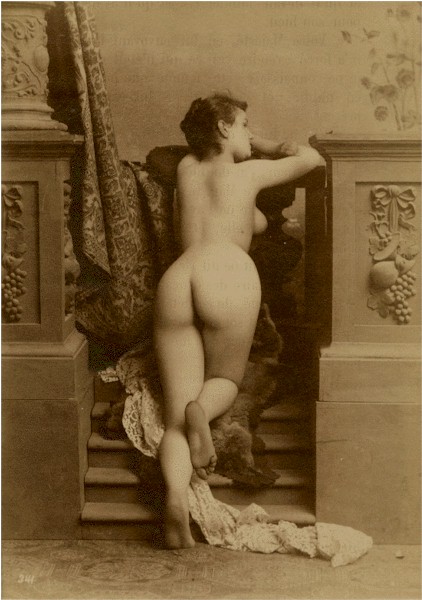 |
| source |
No, not birthday suit... birthday dress!
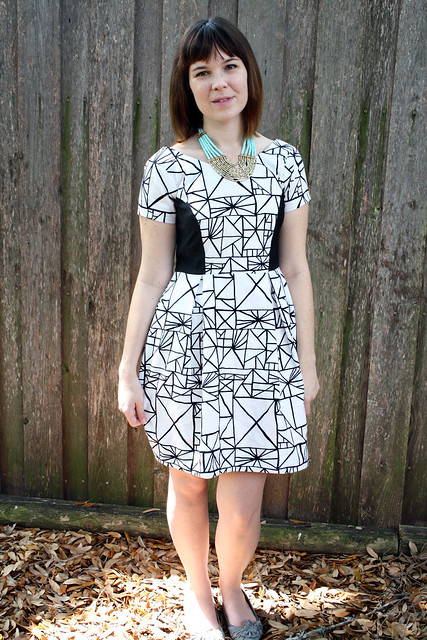
 |
| source |
Closer, although I do not expect my birthday to be quite so elegant. But before I talk about my birthday sewing schemes, it's time to highlight another fellow blogger I admire. Today it's Cathy from Treadling in Benin.

Cathy works for the Peace Corp as an art teacher, and she is documenting her sewing projects made on a vintage treadle machine. I am in awe of how quickly she plows through projects and makes it work - often with limited resources and of course with only a treadle sewing machine. Super inspiring! It makes me feel guilty for not getting my own treadle machine up and running. She also does interesting posts on sewing professionals in Benin, and I find it really cool to see how sewing is done in another part of the world. Check her out!
On to the birthday stuff. Remember this fabric?

It's a stretch cotton sateen and an impulse purchase from Fabric.com, necessary for meeting that $35 mark and getting free shipping. Ohhh how dangerous the temptation of free shipping can be. But I have no regrets. The print I think is even prettier than the photos on the website indicated. I looove it. When I clicked "buy" I thought it would make some great shorts or a skirt, but before long I was dreaming of a special dress for my birthday instead. Separates are practical, but I want to make it into something fun.
My inspiration, at first, was this Betsy Johnson dress which I thought I could rip off by modifying Colette Patterns Lily.

But looking at all those seam lines on Lily, I realized it would be a nightmare for matching up my zig-zaggy print. Also, Lilly doesn't have the sweetheart neckline that I covet. Enter Burdastyle 04/2013 #116. (Why can't they just give their patterns a simple number code?)
 |
| dress pattern on Burdastyle.com |
Ahhhhh! Isn't it adorable on that model? She looks like it's her birthday. I love this pattern. I love the neckline, and that the straps are incorporated into the bodice. I like that the skirt doesn't require pattern matching except in back. Using a ribbon belt means I won't have to worry about pattern matching between the bodice and skirt. And if I use contrasting black panels for the sides of the bodice, ala Dixie DIY and her adorable Elisalex dress...
 |
| check it out |
Being a smart cookie, I decided to make a muslin. I had read Kathy's review of the pattern here.

She had issues with the straps being spaced too wide. And since I am scheming to make a pair of shorts or a skirt with the leftover zig-zag fabric once this dress is done, there's no room for error. So muslin I did.
First off, Burda messed up on a few of the pattern pieces. Stuff just didn't line up right when I went to tape everything together. See?

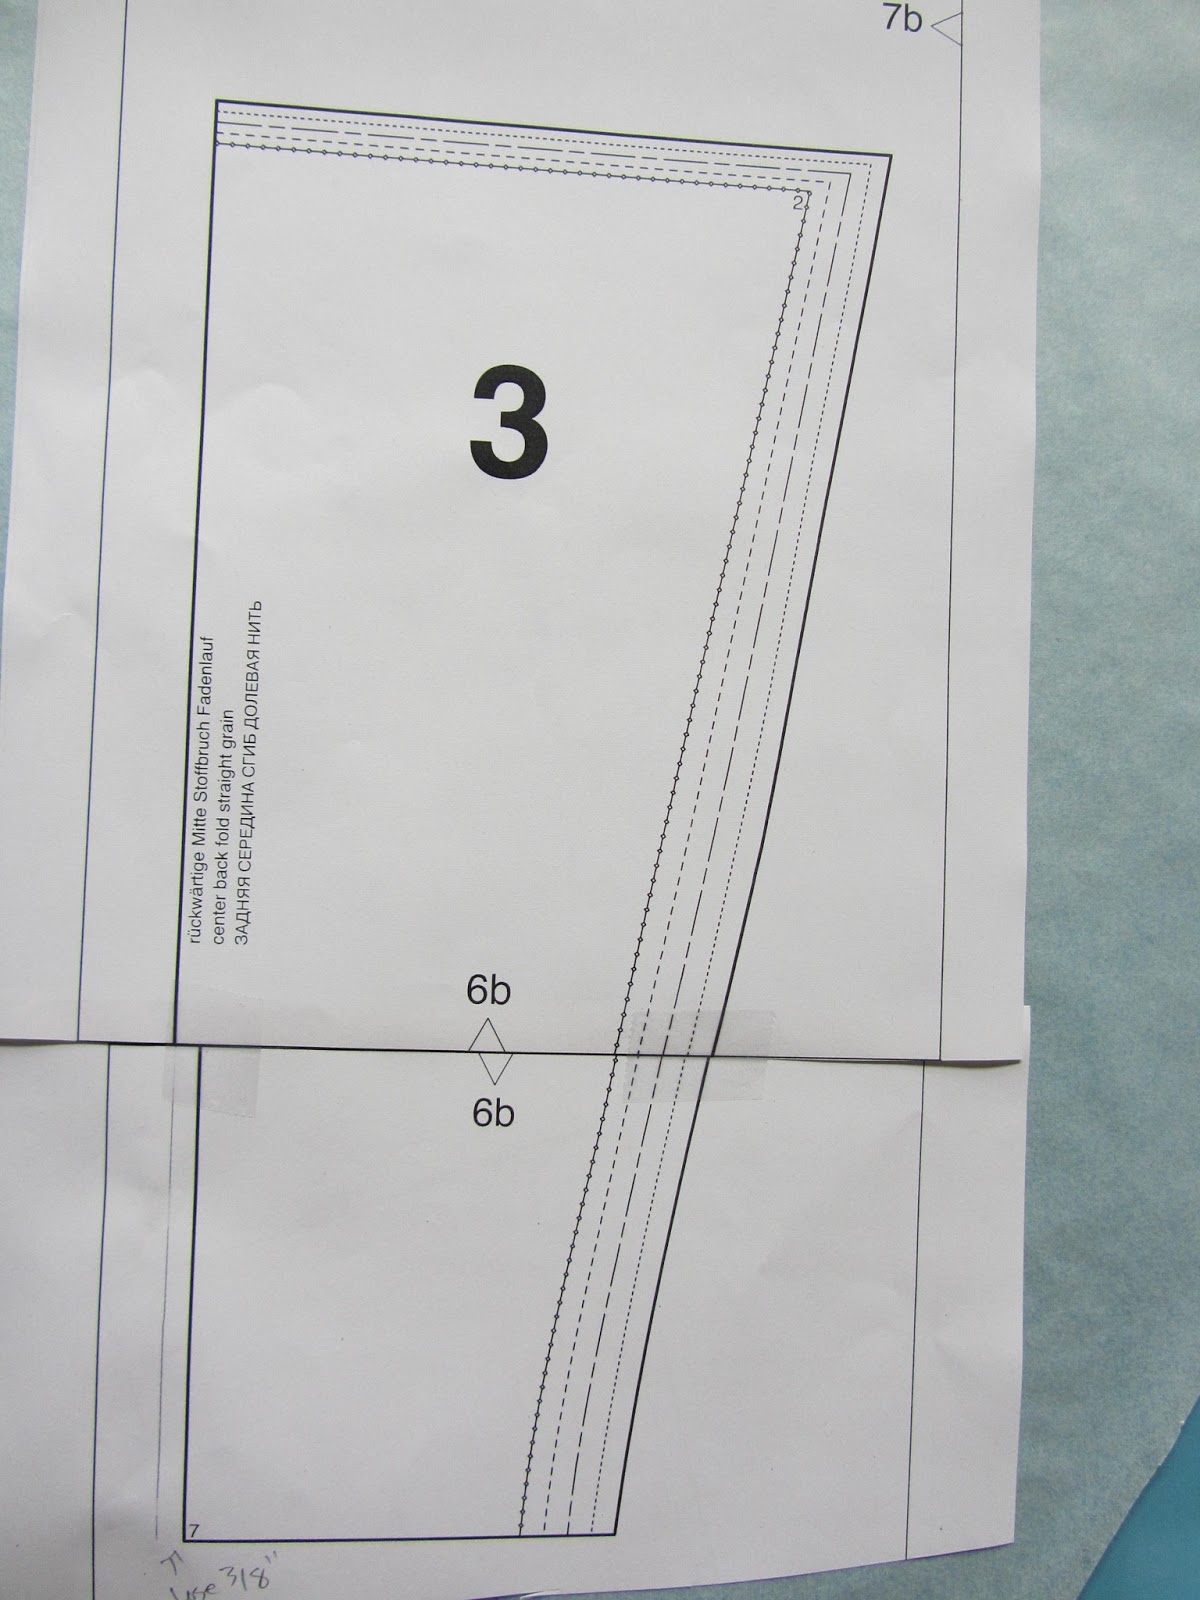
PDF patterns can be a pain. PDF patterns that don't line up properly... even bigger pain. After taking a lot of measurements, I decided that the center front line on both the front and back bodice pieces was misplaced on two of the pages. I moved it inward as indicated by the pink arrows:


After that, everything sewed up just fine. Here's my muslin of the bodice:

Blurry photo. Sorreee. Also, my belly button. Also, doesn't this muslin match my shorts well? I cut up a pair of stretch jeans from Goodwill to make this. I hate wasting a lot of money on muslin fabric. The jeans were cheap and expendable. Hopefully the stretch factor is comparable to the fabric I will be using. Anyway, I cut a straight size 40 for this muslin. I am around a 36.5" in the bust, and somewhere around 31" in the waist. Maybe I could have gone down a size, given the stretch material. But I decided to alter the size 40 instead. I pinched out some from the center front, as you can see. I also concur with Kathy about the straps - I decided mine need to come in a little. Here's the back...

Here's how I altered my pattern pieces. Trimmed off some from the center of the front bodice piece...

Angled the top of this pattern piece in a little (about 3/8") where I want the strap to move over. The new stitching line is indicated by the blue arrow and that strip of paper is what I removed...

I angled the pattern piece for the bodice sides in a little. The original pattern piece is underneath in the photo below and I'm tracing a new line on top, indicated by the blue arrow again.

I had to shift the whole strap over too. This photo doesn't demonstrate too well, but the pink arrow is pointing to the old strap lines. I tilted the pattern piece a little towards the center of the body so I could trace new lines.

You can kinda see the difference in the photo below. New strap is on top, old strap is on bottom. It's a pretty small adjustment. Hopefully it does the job.

And I repeated this same process with the back bodice side piece, bringing the strap a little more toward the center but keeping it the same overall width.

And of course then I had to shave a little off of the center back piece, which I forgot to photograph. I hope this makes sense. Pattern alterations are so tricksy.
I'm excited to start on the real deal! Just have to wait for that black contrasting fabric to arrive. Oh hurry up UPS....


